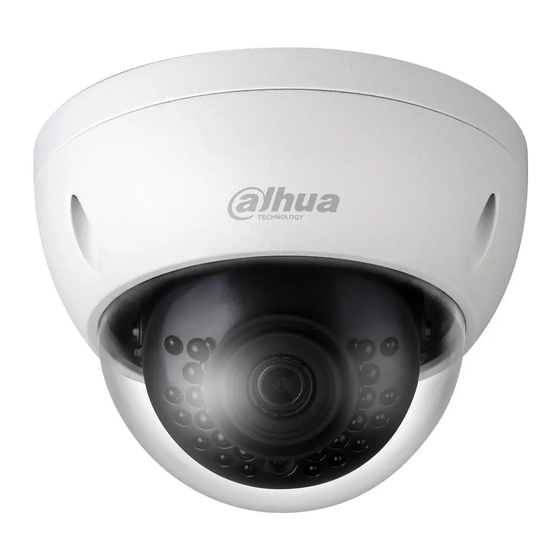
Dahua Technology HDBW2231E-S-S2 Panduan Memulai Cepat - Halaman 10
Jelajahi secara online atau unduh pdf Panduan Memulai Cepat untuk Kamera Keamanan Dahua Technology HDBW2231E-S-S2. Dahua Technology HDBW2231E-S-S2 17 halaman. Hd ir vandal proof network dome camera

Dahua HD IR Vandal Proof Network Dome Camera Quick Start Guide
Step 1
Take out installation position map; stick it on the mounting surface according to the monitoring area.
Dig bottom holes on the hole sites with cross mark of the installation position map, and then knock the
expansion bolts into the mounting holes and lock them firmly.
Step 2
Adjust the location of device mounting pedestal; lead the cable into the cable exit hole which is on the
mounting surface, you can select bottom cabling or side cabling.
Note
It needs to dig a cable exit hole on the mounting surface according to the installation position map
if users adopt bottom cabling when installing device.
It needs to lead out the cable via U-shaped cable channel side exit on the dome pedestal if users
adopt side cabling when installing device.
Step 3
Make sure the "TOP" direction on the device is in accordance with that of the installation position map,
align the screw hole on the device mounting pedestal with the mounting hole on the mounting surface,
and then twist the self-tapping screws into the plastic expansion bolts and lock them firmly, finally fix
the dome on the mounting surface.
2.3 Connect Device Cable
Connect device corresponding power, audio cable to external cable well according to requirement,
and then use insulated tape to twine the connection respectively to make it waterproof.
Connect alarm input and output terminal to external cable according to "Connect Alarm
Input/output Port", and use insulated tape to twine connection to make it waterproof.
Connect network cable to corresponding network port of the device cable according to "Install
Waterproof Connector".
Figure 2-2
4
