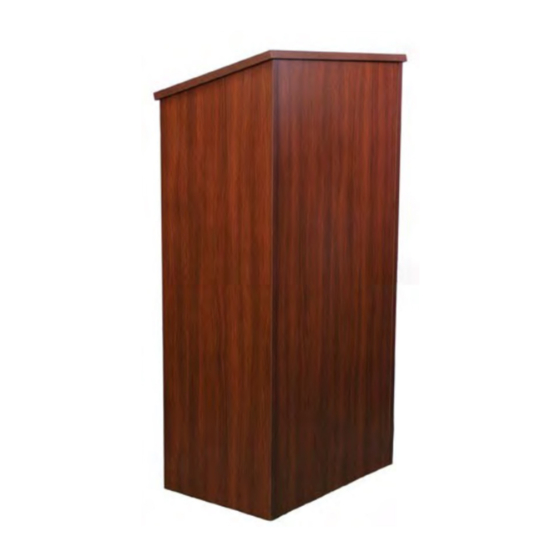
AmpliVox W280 Petunjuk Perakitan - Halaman 2
Jelajahi secara online atau unduh pdf Petunjuk Perakitan untuk Perabotan Dalam Ruangan AmpliVox W280. AmpliVox W280 2 halaman. Lectern

PANEL DESCRIPTIONS
Panel 3 - Top Reading Surface
Panel 2 - Left Side Panel
HARDWARE LIST
ITEM
DESCRIPTION
QTY
A
Cam Lock
14
B
Glides
4
C
Dowel Pins
6
Panel 4- Right Side Panel
Panel 5— Shelf
Panel 1 - Front Panel
A
B
C
2
GETTING STARTED
Unpack all panels from shipping box. Locate accessories and open.
TOOLS NEEDED: Philips Screw Driver, Rubber Mallet
CAM LOCK AND DOWEL PIN INSTALLATION
Locate Panels (1) (2) (3) (4) (5), including items (A) (B) and
(C). Lay all the panels on a flat surface with the side that has
all the cutouts facing up.
Take one item (A) Cam Lock, and press into each cutout with
your fingers or softly tap in with rubber mallet.
Repeat on all panels.
On the edges of the front panel and the shelf, you will see holes
for the dowel pins, item (C). Insert a dowel pin into each hole.
Set all panels aside.
With the Front Panel (1) still on a flat surface take one of
the side panels (2) (4) and align the holes with the dowel
pins and cam locks sticking out from Panel (1). Tap in
place.
Lock cam locks.
Lock panels in place by rotating cam lock with screw
driver, turning lock clockwise until you can not turn any
more.
Next take the shelf (5) and align the dowel pin and cam
locks with the holes in the side panel. Tap in place. Lock
cam locks.
Take the other side panel,
align the holes with the dowel
pins and cam locks sticking out from Panel (1). Tap in place.
Lock cam locks.
To complete the assembly, take the reading surface panel
(3) and align the four holes with the cam locks sticking out
from the two side panels. Tap in place. Lock cam locks.
Lastly, take the four tack glides (B) and attach to the bottom
of the two side panels in four places.
Stand lectern up.
2 or 4
1
3
B
B
