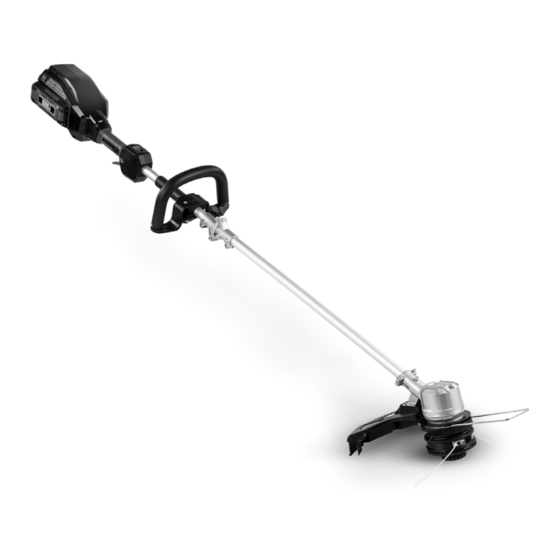
DR PRO-62V Manual Petunjuk Keselamatan & Pengoperasian - Halaman 11
Jelajahi secara online atau unduh pdf Manual Petunjuk Keselamatan & Pengoperasian untuk Pemangkas DR PRO-62V. DR PRO-62V 20 halaman.
Juga untuk DR PRO-62V: Manual Petunjuk Keselamatan & Pengoperasian (20 halaman), Manual Petunjuk Keselamatan & Pengoperasian (20 halaman)

Chapter 3: Operating the DR
It may be helpful to better familiarize yourself with the features of your String Trimmer by reviewing Figure 2 in Chapter 2 before
beginning the steps outlined in this chapter.
Sub Handle Adjustment
For maximum comfort and control, adjust the Sub Handle to suit your height.
For shorter users, adjust the Handle to a lower position (away from you) and for
taller users, adjust the Handle to an upper position (towards you). You should
adjust the Handle so that your front arm is straight. To adjust the Sub Handle,
unlatch the Trigger Lock, position the Sub Handle as required and then re latch
the Trigger Lock (Figure 11).
Installing the Battery
1.
Slide the Battery Pack into the Battery Cradle on the Trimmer Housing,
aligning the ribs in the cradle with the slots in the Battery until it is latched
into place (Figure 12).
2.
Check that the Battery is securely locked into place.
3.
To remove the Battery press and hold the Lock Button on the Back of the
Trimmer Housing and slide the battery away from the Trimmer.
Note: You can check the charge of your 62V Battery by pushing the Indicator
Button on the front of the Battery. The number of Green LED indicators will
tell you the % of power left in the Battery. 1=25%, 2=50%, 3=75% and
4=100%.
Starting The 62V String Trimmer
1.
Grasp the Sub-handle with one hand and the Switch Housing Handle with
the other hand. With the Switch housing hand press the Auto-Lock button
in with your thumb and squeeze the Trigger Switch with your fingers
(Figure 13). Once the Motor starts on the Trimmer you can remove your
thumb from the Auto-Lock Button. If the Trimmer Does Not Start, check
the Battery connection and Power Status.
2.
To Stop the Trimmer, release your fingers off the Trigger Switch.
Using the Trimmer
Proper Trimming Stance and Procedure
With one hand on the Auxiliary handle and the other on the Main Handle,
balance the weight of your body on both feet on solid ground. Keep your
forward arm. Locked in a "straight arm" stance. Slowly swing the Trimmer from
side to side keeping the material to be cut in front of the cutting rotation so that
the trimmer throws the material away from you.
Speed Adjustment
The DR
®
PRO-62V STRING TRIMMER has 3 Speed settings, Low, High, and
Turbo for power and cutting control. To change the speed setting, move to the
Speed Push Button to the desired position.
Lengthening the Line
During normal use the Cutting Line will become worn down and shorter. Your
62V STRING TRIMMER is equipped with a Line Auto Feed. When you start to
notice the string getting worn down, bump the Spool on the ground and the
Cutting line will automatically feed (Figure 14). There is a cutting blade on the
guard that will keep the line at the correct cutting length.
®
PRO-62V STRING TRIMMER
Shorter
Trigger
Lock
Figure 11
Trimmer
Housing
Battery
Lock Button
Figure 12
Speed Push
Button
Sub-Handle
Auto-Lock
Switch
Figure 13
Figure 14
CONTACT US AT www.DRpower.com
Taller
Handle
Lock
Operation
Switch
Housing
Trigger
Switch
Spool
11
