Dr. Mach Mach 380 Petunjuk Pemasangan - Halaman 6
Jelajahi secara online atau unduh pdf Petunjuk Pemasangan untuk Peralatan Pencahayaan Dr. Mach Mach 380. Dr. Mach Mach 380 14 halaman. Stand lamp
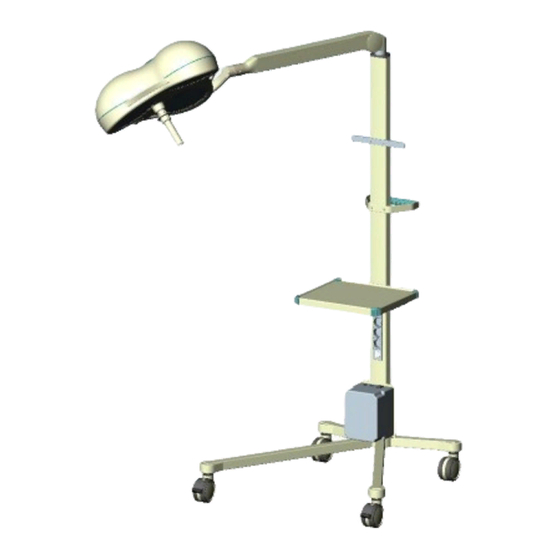
Mach 380 / Mach M3 Stand model
3. Mounting the lamp to the central spring arm
2
2
4
5
59520001
1
2
4
3
5
1
2
10
6
Edition 10
Preparatory work
Attention!
Power off the on-site power supply and protect
it from being switched on again.
Attention!
Danger of injury: The spring arm, when it is
pressed down, can jump up suddenly and cause
injury.
During the installation of the end device, do not
allow anyone to be within the swiveling range of
the spring arm.
•
Turn mounting hole 5 in the sleeve 1 down-
wards.
•
Remove the brake screw 4 at the bottom side of
sleeve 1.
•
Turn sleeve 1 by 90 degrees and remove the
end device securing screw 2.
•
Turn sleeve 1 by 180 degrees and remove the
second end device securing screw 2.
•
Remove the protective cap 3.
Mounting
Note: Maximum lamp / device weight: The lamps
/ devices must not exceed the weight of the
mounted spring system. For details about the
spring system please refer to the type plate of
your ACROBAT 2000.
Spring version: 10,0 – 15,0 kg
•
Insert the end device 6 into the mounting of the
spring arm.
Attention!
Danger of injury: Hold the end device to avoid
its falling down.
•
Tighten the first end device securing screw 2.
•
Turn sleeve 1 by 180 degrees and tighten the
second end device securing screw 2.
•
Turn sleeve 1 by 90 degrees and tighten the
brake screw 4.
•
Adjust the brake force so the lamp / the end
device always keeps its set position.
•
Check the firm seating of the end device.
•
Adjust the spring force as described in chapter
8.2.3.
•
Adjust the verrtical limit as described in chapter
8.3.3.
11.08.2004 / Bak Page 6/14
Dr. Mach
Lamps and Engineering