Bosch 800 Series Panduan Instalasi - Halaman 9

Jelajahi secara online atau unduh pdf Panduan Instalasi untuk Mesin pencuci piring Bosch 800 Series. Bosch 800 Series 32 halaman. Built-in wall ovens
Juga untuk Bosch 800 Series: Panduan Petunjuk Instalasi (24 halaman), Panduan Instalasi (40 halaman), Panduan Penggunaan dan Perawatan (12 halaman), Panduan Instalasi (23 halaman), Panduan Instalasi (28 halaman), Panduan Instalasi (32 halaman), Buku Petunjuk (32 halaman), Panduan Instalasi (32 halaman), Panduan Memulai Cepat dan Keselamatan (7 halaman), Panduan Penggunaan dan Perawatan (40 halaman), Panduan Instalasi (40 halaman), Panduan Instalasi (32 halaman), Panduan Petunjuk Instalasi (40 halaman), Panduan Instalasi (48 halaman), Panduan Penggunaan dan Perawatan (33 halaman), Panduan Penggunaan dan Perawatan (49 halaman), Panduan Memulai Cepat (7 halaman), Panduan Memulai Cepat dan Keselamatan (13 halaman), Panduan Servis (36 halaman), Panduan Petunjuk Instalasi (29 halaman), Panduan Penggunaan dan Perawatan (24 halaman), Panduan Penggunaan dan Perawatan (40 halaman), Panduan Petunjuk Instalasi (28 halaman)
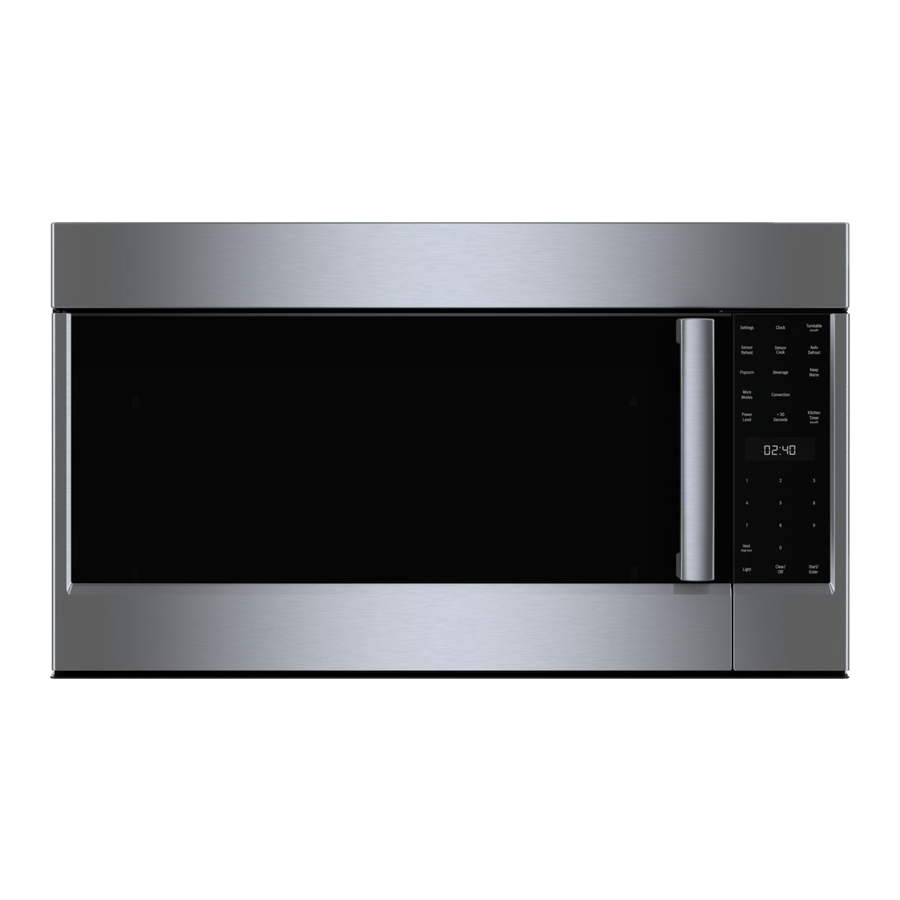
Bosch 800 Series Panduan Instalasi

Install Appliance

Removing the mounting plate

Note: To avoid possible damage to the work surface or
to the bottom of the appliance, cover the work surface.
Remove any remaining contents from the microwave
1.
oven cavity.
Remove the screws from the mounting plate.
2.
The mounting plate will be used as the rear wall
template and for mounting.
Reinstall the screws into the holes where they were
3.
removed.
Note: To avoid damage to the microwave oven, do not
grip or use the door or door handle while the microwave
oven is being handled.

Finding the wall studs

Note: The microwave must be connected to at least one
wall stud. If no wall studs exist within the cabinet
opening, do not install the microwave oven.
Locate the edges of the wall studs within the cabinet
1.
opening by using:
- a stud finder or
- a hammer (tapping lightly across the mounting
surface to find a solid sound).
Place a mark halfway between the edges and draw a
2.
line down the center of the studs (See possible wall
studs configuration).

Possible wall stud configurations

These depictions show examples of preferred installation
configurations with the mounting plate.
Note: Care must be taken when drilling holes. Electrical
wires may be concealed behind the wall covering and
contact with them could result in electrical shock.
No wall studs at corner holes
If wall stud is within 6¼" (159 mm) of the vertical
centerline, only Room Venting (recirculation) or Roof
Venting installations can be done.
Wall stud at one corner hole
Wall studs at both corner holes
9