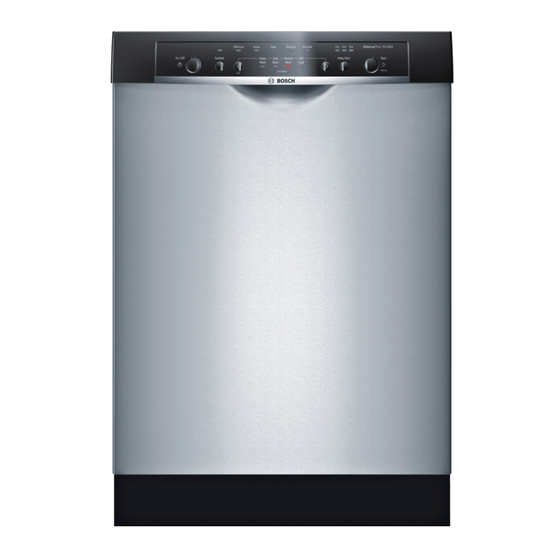
Bosch Ascenta SHE4AM12U Petunjuk Perbaikan - Halaman 4
Jelajahi secara online atau unduh pdf Petunjuk Perbaikan untuk Mesin pencuci piring Bosch Ascenta SHE4AM12U. Bosch Ascenta SHE4AM12U 50 halaman.
Juga untuk Bosch Ascenta SHE4AM12U: Instruksi Perbaikan (27 halaman)

2
INSTALLATION
2.1
Pre-Install checklist
□ Unpack unit.
Retain packing material until installation is
successful.
Remove packing material from inside the
dishwasher.
□ Inspect parts to ensure you have all the necessary materials.
□ Flush household hot water supply for at least two minutes.
□ Measure the enclosure area. The opening must be at least
34" (87 cm) high and 23-5/8" (60-61 cm) wide.
□ The opening must be close enough to the sink for water line
and drain hose plumbing access.
□ Unit must be installed close enough to the sink so that drain
hose length does not exceed 92" (234 cm) and a high loop is
raised at least 20" (51 cm) above the floor.
□ Wooden openings must be sanded smooth and metal
openings must be covered by a protective gasket.
□ Is your water heater set at 120°F (49°C) and does water
pressure measure 15-145 psi (1-10 bar)?
□ If installing in a corner, the dishwasher door must clear
cabinet hardware.
□ Determine mounting method based on dishwasher model and
countertop type, whether top or side mount.
2.2
Alignment
Carefully place dishwasher on its back to pre-adjust all three feet
-- turn feet clockwise to raise or counter-clockwise to lower.
Maximum height with feet fully extended is 34.5".
dishwasher upright, then level side to side and front to back.
When done, insert leg leveler locking screw in back foot.
Regardless of countertop surface, mounting brackets are
attached on the side of dishwashers.
screw bosses on the side dishwasher frame, then into the
cabinetry.
702_58300000130262_ara_en_c
Place
They are screwed into
2.3
Electrical connection
Install according to national and local codes.
Carefully place dishwasher on its back to make electrical
connections to the terminal block. Turn power off at the fuse box.
Extend power cord approximately 21" from the left side of the
opening, and 30" from the back wall, making sure the cord
doesn't contact any moving parts.
Strip outer casing of electrical wire to expose 2.5" - 3" (65 - 76
mm) of inner wires, then strip 1/2" (13 mm) casing from each
wire. If plugging the dishwasher into an outlet, contact customer
service
to
order
approved
(SGZPC001UC). Insert cord through a strain relief (not included)
and install to strain relief plate. Attach wires to terminal block
(black – L (hot), white – N (neutral) & green – G (ground).
Unscrew terminal screws, but don't loosen or remove them as
they may become damaged.
overtighten.
power
cord
accessory
Attach wires snugly, but don't
Page 4 of 50
kit
