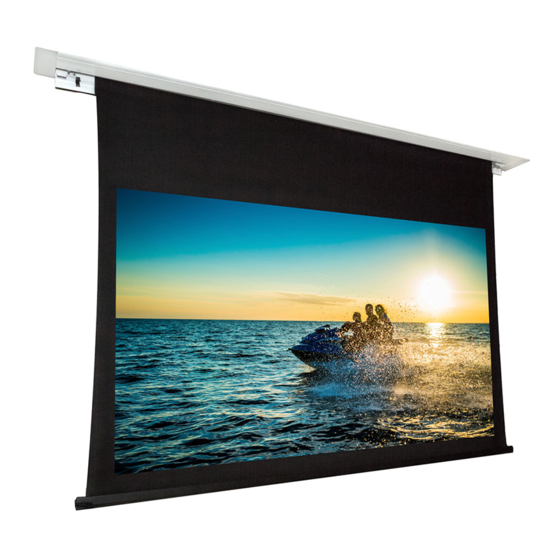
Dragonfly DFRM-NTT-100-MW Panduan Instalasi - Halaman 4
Jelajahi secara online atau unduh pdf Panduan Instalasi untuk Layar Proyeksi Dragonfly DFRM-NTT-100-MW. Dragonfly DFRM-NTT-100-MW 17 halaman. Recessed in-ceiling motorized projection screen
Juga untuk Dragonfly DFRM-NTT-100-MW: Instal Manual (9 halaman)

DFRM Installation Manual
3. Installation
Important! Before installation, ensure that the ceiling structure is capable of
supporting the weight of the screen. Screen weights are listed in section, "7.
Assembled Weights" on page 13.
Step 1. Determine the Mounting Method
•
Z Brackets – Used for all installations with new or existing permanent ceilings and when there
is no access above the screen housing such as an attic or a crawl space.
•
Flat Brackets – Used for installations with new ceiling and access above the screen at all
times, such as a commercial tile ceiling, an attic, or a crawl space.
Step 2. Prepare the Ceiling Opening
Screen Housing Cutout
Use the chart to determine the opening size for the housing, then cut the ceiling surface.
Type-Size
Length (A)
TAB-100"
112.53"
TAB-110"
121.19"
TAB-120"
130.05"
TAB-130"
138.79"
NTT-100"
103.28"
NTT-110"
111.90"
NTT-120"
120.50"
NTT-130"
129.30"
Height Clearance (C)
Dimensions measured from bottom of ceiling surface to top of screen housing including height of
mounting bracket and hardware.
Z Bracket Down/Flat Bracket
Pg. 4
Z Brackets
Width (B)
7.25"
7.25"
7.25"
7.25"
7.25"
7.25"
7.25"
7.25"
7.0"
Flat Brackets
A
Z Bracket Up
7.5"
C
B
© 2016 Dragonfly
