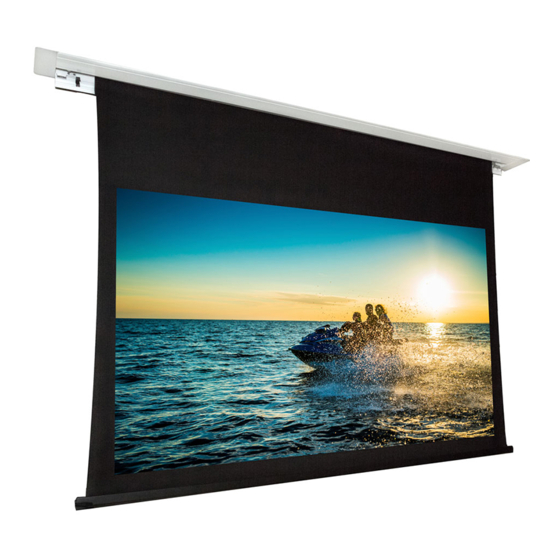
Dragonfly DFRM-TAB-100-UAW Panduan Instalasi - Halaman 12
Jelajahi secara online atau unduh pdf Panduan Instalasi untuk Layar Proyeksi Dragonfly DFRM-TAB-100-UAW. Dragonfly DFRM-TAB-100-UAW 17 halaman. Recessed in-ceiling motorized projection screen

DFRM Installation Manual
Step 11. Adjusting the Tab Tension Setting (TAB Models Only)
If the sides of the screen appear wavy or bent, the tab tension setting must be adjusted. Turn the
adjustment knob on each side until both sides are even and flat.
To tighten the tabs, turn the adjustment knob CLOCKWISE.
To loosen the tabs, turn the adjustment knob COUNTERCLOCKWISE.
4. Removing the Screen from the Housing (Optional)
The screen assembly can be removed from the housing to allow for painting the housing, for when
the housing must be installed in advance, or to service the motor assembly without damaging the
ceiling.
1. Begin with the screen lowered enough for the hinged panel to swing down and out of the
way.
2. Remove the housing access panel by pulling down and away from the magnets. Carefully pull
the panel away from the viewing area where the panel hooks into the housing.
3. Disconnect the wiring harness connector from the motor assembly (connector facing down,
attached to bracket).
4. Remove the retaining screw.
5. Move the assembly over and then down, taking care not to let the opposite end fall out of the
housing.
6. Store the assembly in a safe place to avoid damage.
Remove
5. Cleaning the Screen
Follow these guidelines to clean any marks or residue from the viewing surface:
•
Do not clean the screen case with water.
•
Use a dry cloth to clean dust and dirt from the housing and screen on regular occasions.
•
To clean the screen material, use warm soapy water and a soft cotton cloth only. Never
use chemicals or abrasives to avoid damaging the surface of the material, which affect the
viewing quality of your screen.
Pg. 12
Push screen assembly up
and towards viewing area
© 2016 Dragonfly
