Bosch 800 Series Panduan Instalasi - Halaman 6

Jelajahi secara online atau unduh pdf Panduan Instalasi untuk Oven Bosch 800 Series. Bosch 800 Series 40 halaman. Built-in wall ovens
Juga untuk Bosch 800 Series: Panduan Petunjuk Instalasi (24 halaman), Panduan Instalasi (40 halaman), Panduan Penggunaan dan Perawatan (12 halaman), Panduan Instalasi (23 halaman), Panduan Instalasi (28 halaman), Panduan Instalasi (32 halaman), Buku Petunjuk (32 halaman), Panduan Instalasi (32 halaman), Panduan Memulai Cepat dan Keselamatan (7 halaman), Panduan Penggunaan dan Perawatan (40 halaman), Panduan Instalasi (32 halaman), Panduan Petunjuk Instalasi (40 halaman), Panduan Instalasi (48 halaman), Panduan Penggunaan dan Perawatan (33 halaman), Panduan Penggunaan dan Perawatan (49 halaman), Panduan Memulai Cepat (7 halaman), Panduan Memulai Cepat dan Keselamatan (13 halaman), Panduan Instalasi (32 halaman), Panduan Servis (36 halaman), Panduan Petunjuk Instalasi (29 halaman), Panduan Penggunaan dan Perawatan (24 halaman), Panduan Penggunaan dan Perawatan (40 halaman), Panduan Petunjuk Instalasi (28 halaman)
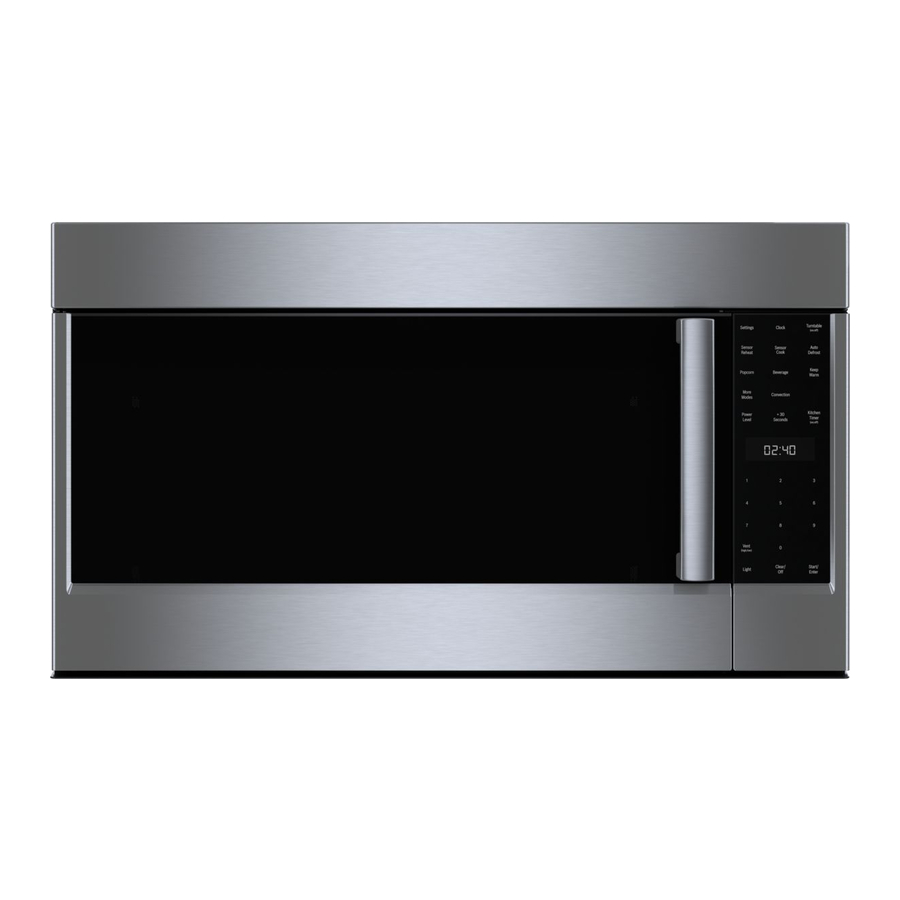
Bosch 800 Series Panduan Instalasi

Installation Procedure

This conversion process adjusts the flow of gas to the
burners to accommodate an LP gas fuel source.
CAUTION
9
TURN OFF GAS AND ELECTRICITY
Perform the following:
shut off the gas valve for the gas supply line to
the cooktop
remove the cooktop power cord from the
electrical outlet or turn off the breaker at the
breaker box.
turn all control knobs to the "Off" position.

Checklist

Each of the following steps must be completed
correctly for the appliance to function properly.
Check off each step as it is finished.
Ù
Convert the pressure regulator to use
Step 1
LP gas.
Ù
Remove the grates, burner caps and
Step 2
burners. Remove the Natural Gas (NG)
orifices and replace them with the LP gas
orifices supplied with this kit. See Before
You Begin chapter on previous page for
correct placement of orifice by model
number.
Ù
Replace the burners, burner caps and
Step 3
grates.
Ù
Adjust the unit valves to LP settings.
Step 4

Step 1 - Convert the pressure regulator

Locate the pressure regulator on the bottom right end of
the cooktop.
Note: The arrow on the back of the regulator must point
in the direction of the gas flow to the cooktop.
6
I n s t a l l a t i o n P r o c e d u r e
Remove the hexagon shaped cap from the regulator
1.
making sure not to dislodge the gasket on the cap or
the spring inside the regulator.
Grasp the plastic button stem firmly and pull it
2.
forcefully from the metal cap. The stem snaps snugly
into an indent in the cap and may require a strong pull
to remove. (Hint: it may be helpful to gently "rock" the
plastic stem while pulling it from the metal cap.)
A
B
C
After removing the stem from the cap, rotate the stem
3.
180° so the button end of the stem is away from the
cap and the letters "LP" on the stem are upside down
when the cap is set flat on its head. Snap the stem
back in place in this position inserting it into the indent
in the metal cap.The stem should snap into place.
Important: Attach the metallic sticker (included with
4.
this conversion kit) to the bottom of the appliance as
shown, placing it near the appliance data plate (shows
model number and information about the appliance).
This sticker provides notice that the appliance has
been converted for use with LP gas.
Spring
Plastic button stem
Gasket