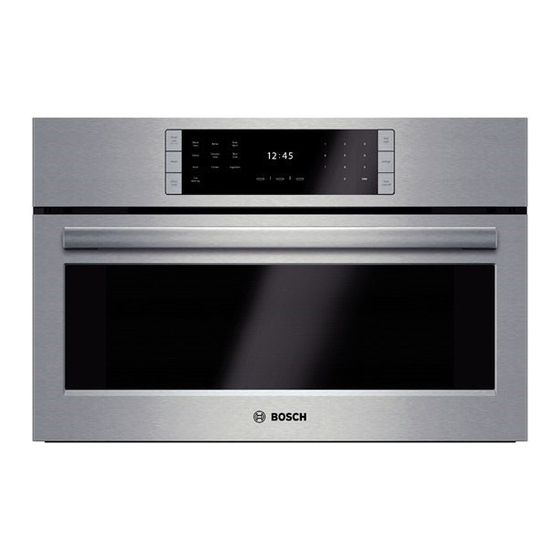
Bosch Benchmark HSLP451UC Panduan Petunjuk Instalasi - Halaman 8
Jelajahi secara online atau unduh pdf Panduan Petunjuk Instalasi untuk Oven Bosch Benchmark HSLP451UC. Bosch Benchmark HSLP451UC 32 halaman. Built-in steam convection oven
Juga untuk Bosch Benchmark HSLP451UC: Spesifikasi (3 halaman), Panduan Instalasi (26 halaman), Panduan Instalasi (26 halaman), Panduan Referensi Cepat (4 halaman)

en-us Installing the oven into the cabinet
5.3 30" Combination oven flush mount in-
stallation
Flush installation requires two side cleats to be attached
inside the cabinet frame, recessed from the front.
Top view
Reveal cleats
Flush inset depth
Side view
Reveal cleats
Flush cutout height
8
6 Installing the oven into the cabinet
Installing the oven into the cabinet
Follow these instructions to install your appliance in the
Installing the oven into the cabinet
cabinet.
CAUTION
It is recommended to wear protective clothing during the
lifting process.
Wear gloves and long sleeves to protect hands and
▶
forearms from abrasion and potential scratches.
Take off watches and jewelry.
▶
Wear work shoes for foot protection.
▶
WARNING
Before installing, turn power OFF at the service panel.
Lock service panel to prevent power from being turned
▶
ON accidentally.
Requirement: You have verified the cabinet dimensions
and electrical connections.
Remove and discard packaging materials.
1.
Remove all items from the oven to assure oven door
2.
does not get damaged.
Verify that the cabinet opening is flat and level.
3.
Carefully place the oven in the opening. Resting the
4.
oven on the cabinet base support, slide the unit into the
opening until it is approximately 6" (150 mm) from being
fully installed.
As the oven is slid into position, guide the pigtail
5.
through the opening of the adjacent cabinet or base
support. Verify the pigtail is not trapped between the
oven and cabinet wall.
Position the steam oven fully in the cabinet opening.
6.
Gently open and close the oven door to check operation
7.
and to verify that there is no interference.
