Bosch 1534 Panduan Petunjuk Pengoperasian/Keselamatan - Halaman 6
Jelajahi secara online atau unduh pdf Panduan Petunjuk Pengoperasian/Keselamatan untuk Alat Listrik Bosch 1534. Bosch 1534 25 halaman.
Feed the nibbler into the work with a minimum
of pressure. Let the nibbler do the work. If the
nibbler doesn't cut correctly, check for a dull
punch or die. Dulling will be apparent as more
pressure is required to feed the nibbler into the
material. Burrs will also show along the cut
edge. A harder material will dull the punch and
die faster than a soft material.
Always direct the cord toward the rear, and
away from the nibbler. Keep it away from sharp
edges.
Secure or clamp small workpieces to be cut to
prevent slippage.
Always use recommended lubricant for the
material being cut. Lack of lubricant will shorten
punch and die life.
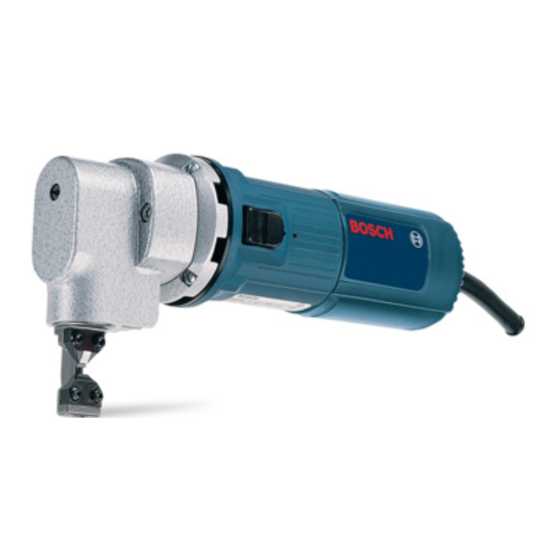
Slide "ON-OFF" switch with Lock
The tool is switched "ON" by the slide switch
located at the side of the motor housing. The
switch can be locked in the "ON" position, a
convenience for long cutting operations.
TO TURN THE TOOL "ON" without locking
it, slide the switch forward by applying pressure
ONLY at the REAR portion of the button.
When pressure is released the switch button
will snap to "OFF" position.
TO LOCK THE SWITCH "ON", slide the
switch button forward and press "IN" the
FRONT portion.
TO UNLOCK THE SWITCH, simply press
and release the REAR portion of the button.
Switch is spring loaded and will snap back
automatically.
CAUTION!
Do not start the nibbler with the
punch and/or die in contact with the workpiece.
Tool Tips
The corrugated nibbler is especially designed
for working with corrugated sheets of both
trapezoidal and rectangular profiles.
Always use both hands to guide the nibbler.
Do not use force; this will lead to premature die
and punch wear.
Before running the nibbler, be sure the punch
and die are properly lubricated. See "Punch and
Die Lubrication" section.
Never start the nibbler with the punch and die in
contact with the material being cut.
Always be sure material is resting on lower die
during operation.
BM 1609929552 8/01
Be sure the punch is adjusted to completely
engage the die. See adjusting punch.
Be sure the Guide or Die screws have not
loosened over time.
Changing Punches and Dies
CAUTION! Unplug nibbler before changing
punches and dies.
Punch:
1. Screw out Retaining Screw 8 by about 4
turns.
2. Pull Punch Carrier 7 down to remove.
3. Unscrew Punch 5 from rod pin while using
an open-end wrench to retain the rod pin.
NOTE: Punch must be re-installed with the
notch on the back engaging Wear Plate 3.
Die and Wear Plate:
1. Remove screws securing Die 4 and Punch
Guide 6.
2. Replace the Wear Plate 3 which lies behind
Die and Guide.
3. When installing Die 4 make sure that the gap
between die and punch is the same on both
sides.
1. The Punch 5 can be sharpened by grinding
up to 4mm (.157"). A minimum length 61mm
(2.4") must be maintained.
2. Regrind on the front side only at 90-deg.
angle.
3. Make a bevel cut of approx. 0.3 mm (.012")
on rear edge (notch).
4. Gently treat cutting edge with a fine whet
stone.
Note: Die cannot be reground.
Important: Wear Plate 3 should be changed
6
6
Sharpening Punch
9/5/01, 2:23 PM