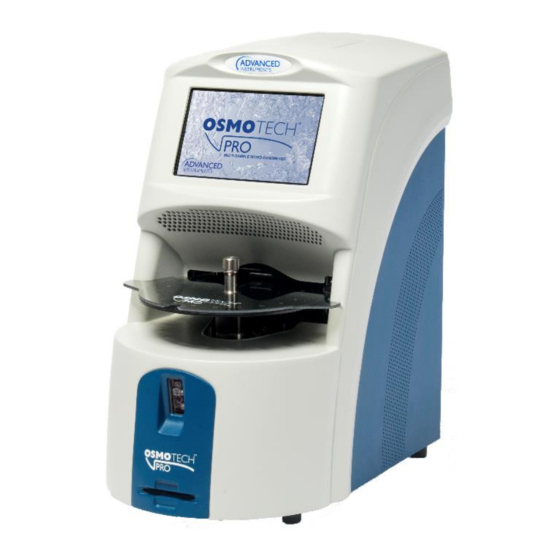
Advanced Instruments OsmoTECH PRO Panduan Memulai Cepat - Halaman 4
Jelajahi secara online atau unduh pdf Panduan Memulai Cepat untuk Peralatan Medis Advanced Instruments OsmoTECH PRO. Advanced Instruments OsmoTECH PRO 5 halaman. Sample probe motor
Juga untuk Advanced Instruments OsmoTECH PRO: Panduan Memulai Cepat (4 halaman)

Removing the block probe
1.
Remember/record:
•
the position of the block probe cable and gently
remove it from the sample cooling assembly.
•
how far that the block probe is inserted into the
sample cooling assembly.
2.
Fill the syringe with thermal grease and insert the
syringe tip all the way into the block probe hole [M].
3.
Inject grease to fill the hole while slowly
withdrawing the tip to prevent air pockets from
forming.
L
4.
Record the four‑digit resistance value [M] listed on
the block probe cable.
Replacing the block probe
1.
From the main menu, press SETTINGS > PROBE
RESISTANCE
2.
Log in to your account.
3.
Enter the resistance value [M] listed on the block
probe cable.
M
4.
Recalibrate the instrument.
OsmoTECH® PRO Block Probe
5.
To avoid damaging the probe and to make sure that
thermal grease is properly displaced, slowly insert
the replacement block probe cable into the block
probe hole.
6.
Once the block probe cable is fully inserted, hold it
in place until excess thermal grease stops oozing
out of the hole
7.
Wipe away any residual grease.
Once all excess thermal grease has been removed
from the block probe hole, the cable can remain in
place by itself.
Replacing the sample cooling assembly
Refer to
Removing the sample cooling assembly
images and callouts.
1.
Loosely secure the sample cooling assembly and
the cable clip to the sample well mounting block
using the four socket head cap screws and washers
[I].
The heatsink should be flush with the sample well
mounting block's uprights. Make sure that the cable
clip is positioned as shown in [K].
Place a sample tube [N] into the sample cooling
assembly.
N
2.
Lift up the sample well mounting block until the
sample tube is just below the stripper bracket.
3.
Carefully lower the movable plate that secures the
sample probe until the probe enters the sample
tube.
NOTE:
Make sure that the sample cooling assembly
aligns with the sample probe. When aligning,
do not move either part more than necessary
to avoid damaging the sample probe.
Replacement Procedure
for
Page 4 222123PM Rev 0
