Andersen SmoothControl+ Panduan Instalasi - Halaman 2
Jelajahi secara online atau unduh pdf Panduan Instalasi untuk Sistem pembukaan pintu Andersen SmoothControl+. Andersen SmoothControl+ 3 halaman. Replacement hydraulic closer torque arm
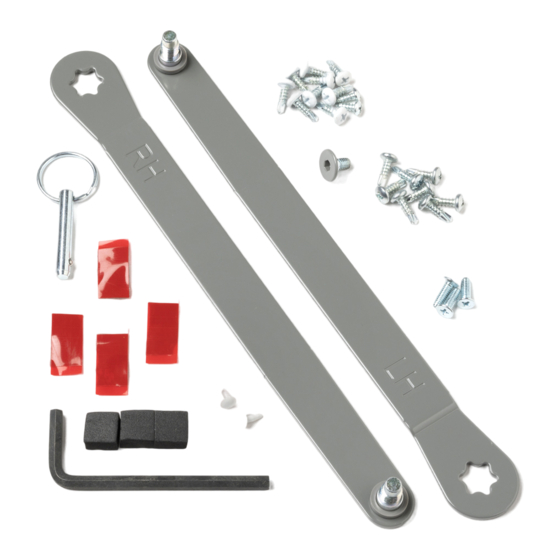
REMOVE HYDRAULIC
1
CLOSER TORQUE
ARM AND INSTALL
REPLACEMENT PART
a
1.
With the door seated in the open position look for the hole in the top
of the hydraulic closer unit on top of the door frame. Insert the locking
pin found in the pink hardware bag into the hydraulic closer hole.
NOTE: Images shown are for left hand doors. Right hand doors will
appear as a mirror image in each step.
c
1.
Loosen the hydraulic closer arm connecting bolt on the under-side of
the rain cap damper assembly using the hex wrench provided in the
pink hardware bag.
NOTE: The connecting bolt is secured to the closer arm.
2.
Once the connecting bolt is completely loose, pull down
slightly on the closer arm and swing the door out of the way.
LOCKING
PIN
HYDRAULIC
CLOSER HOLE
1.
1.
2.
2
Hex Wrench
(provided)
b
Close the door until the closer arm is resting against the locking pin
which will keep the door from closing fully.
d
Remove the locking pin from the top of the hydraulic closer unit by
pulling the closer arm slightly away from the door frame and lifting
locking pin from closer hole. Then carefully let the closer arm swing
back to its neutral position over the closer.
Loosen the hydraulic closer arm connecting bolt on top of the closer
unit using the provided hex wrench. Properly dispose of connecting
bolt.
Tools recommended:
Straight head
Screwdriver
!
LOCKING
PIN
5/8"
5/8"
1 1/2"
1 1/2"
!