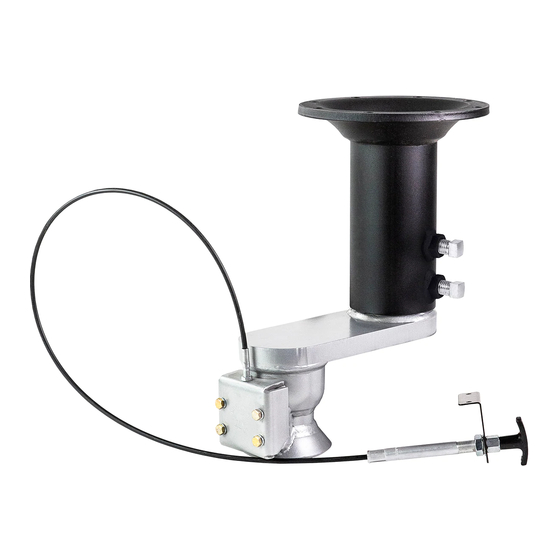
Andersen Hitches Ranch Hitch 3139 Panduan Instalasi - Halaman 3
Jelajahi secara online atau unduh pdf Panduan Instalasi untuk Aksesori Mobil Andersen Hitches Ranch Hitch 3139. Andersen Hitches Ranch Hitch 3139 8 halaman. Straight, 8” offset, 24,000 lbs gtwr - 6,000 lbs tongue

Standard Pin Box
Trailer Preparation
● Thoroughly inspect the trailer's pin box and frame for cracks or broken welds before installing the Ranch
Hitch Adapter. Repair any problems before installation.
● On used trailers, inspect the king pin for wear and file any misshapen metal round again or the Ranch Hitch
split collar will not install properly.
● If present, remove the plastic anti-friction plate as it is important that the Ranch Hitch adapter base be
mounted directly to the metal of the pin box.
● Use your good judgment in determining that the Ranch Hitch Adapter and the Trailer will work together to
achieve the desired results (e.g. the heavier a trailer is, the shorter or stouter your pin box should be).
1-1. Unpack the Ranch Hitch adapter box and make sure there are no missing parts by comparing items to the
Parts List on page 2 in this manual. Note that the threaded collar is screwed into the black base at the factory
to keep the threads from getting damaged in shipping. Contact Andersen's Customer Service Dept. If any parts
are missing or damaged.
SECTION 2: INSTALLING THE BASE UNIT
2-1. Liberally apply anti-seize grease to the split collets and
threaded collar (shown right) and the trailer king pin. This
will make removal easier if you ever find the need.
NOTE:
The threaded collar and each split collet is
stamped with an 'X' on the bottom. When assembling,
ensure that all 'X' marks point down because the
threaded collar and split collets are tapered.
2-2. With the marked 'X' pointing down on each piece, slide
the threaded collar over the king pin and, while holding the
collar up, place the split collets around the narrow neck of
the king pin. Slide the threaded collar down over the split
collets and pull tight.
2-3. Seat the threaded collar over the split collets with
enough force that it does not slide up or spin when you
thread the black base onto the threaded collar. You
can accomplish this by using our Slide Hammer (sold
separately, part # 3103) or a gear puller to lightly seat the
threaded collar onto the split collets. If you are using a gear
puller, one full turn from finger-tight is sufficient to seat the
collar and collets.
NOTE:
Our Slide Hammer makes both installation AND
removal of the Andersen Ranch Hitch Adapter easier.
Page 3 of 8 • Andersen Ranch Hitch Adapter Installation Manual 3-2019 • www.AndersenHitches.com
Medium-Extended Pin Box
SECTION 1 : PREPARATION
Super-Extended Pin Box
2-2
2-3 A
May need extra support
(e.g. steel gusset)
• • CALL IF UNSURE • •
Xs Down
2-3 B
