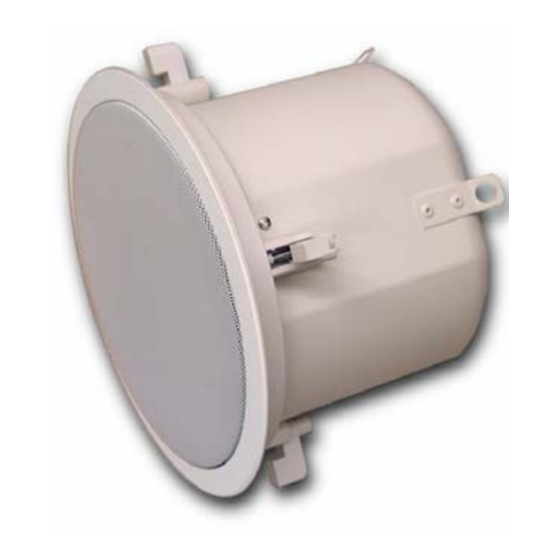
Community CLOUD 4 Panduan Instalasi - Halaman 11
Jelajahi secara online atau unduh pdf Panduan Instalasi untuk Pembicara Community CLOUD 4. Community CLOUD 4 17 halaman. Community cloud series high output ceiling speakers

INSTALLATION AND WIRING
Step 6
Connect a Secondary Support Line
Four tabs are provided on the back of each speaker. These tabs allow for connection to an independent
and secure anchor point. Some construction codes require using this secondary support point, so
please consult the building code in your region. You may also use these tabs to suspend the speaker
in an open ceiling setting.
IMPORTANT:
Community CLOUD 4 and
CLOUD 6 ceiling speakers
can generate substantial
vibration. It is HIGHLY
RECOMMENDED to use the
tabs as a secondary support
point in case the ceiling tile
or structure breaks.
Step 7
Mount the Speaker Into the Ceiling
Push the speaker into the ceiling through the hole until the front baffle rim is flush with the ceiling.
Tighten the mounting tabs by turning the cantilever screws as follows:
IMPORTANT – For each cantilever screw, first turn ½ turn COUNTER CLOCKWISE to release the
mounting tab from its guide.
Then tighten the mounting tabs by turning the screw CLOCKWISE until tight. The first ¼ clockwise
turn rotates the attachment tabs outward. The remaining turns tighten the tabs down onto the back of
the ceiling surface. DO NOT OVERTIGHTEN.
CLOUD 4 and CLOUD 6 – Installation Guide
Figure 12- Attach secondary support line
Secondary
support line
9
