ATIGO A1702 Panduan Pengguna - Halaman 3
Jelajahi secara online atau unduh pdf Panduan Pengguna untuk Penerima ATIGO A1702. ATIGO A1702 12 halaman. 2 wire digital video system
Juga untuk ATIGO A1702: Panduan Instalasi (15 halaman)

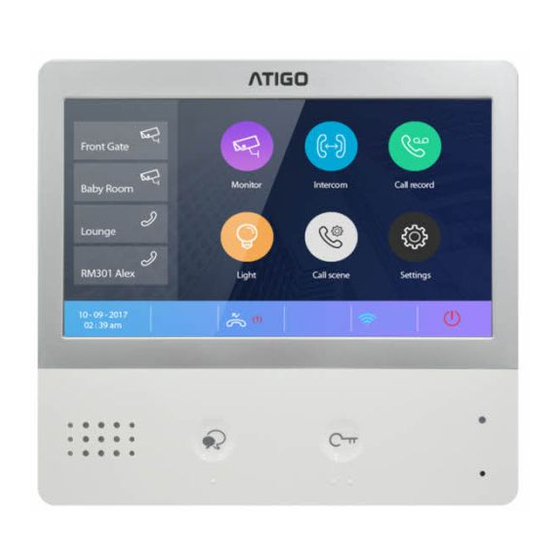
Video Receiver A1702
Parts & Functions
Key functions
•
Speaker
Enables communication with the visitor
•
Press for hands-free communication
Talk/Mon button
with the visitor
•
Press to view the camera in standby
LCD screen •
Display the image of the visitor
•
Power/Do Not
Show the power status of the system
•
Disturb
Turn on Do Not Disturb mode
•
Transmit audio to the entry panel or
Microphone
other monitors
•
Unlock button
Press to unlock the door
•
Connection port
BUS terminal and monitor addressing
Terminal description
SW+ / SW-
Extra doorbell call button connection port
Ring / GND
Extra buzzer connection port
POW / GND
12~16V extra power connection port
DIP switches
Total 6 bits can be configured
Bit1~Bit5
User code setting switch
Bit6
Video impedance matching switch
L1 / L2
BUS line terminal
Mounting
A.
Embed the mounting box into the
wall.
B.
Use screws to fasten the
mounting bracket to the mounting
box.
C.
Connect the 2 wires cable to the
unit.
D.
Mount the unit onto the mounting
bracket.
The suggested installation height is between
145~160 cm from ground.
