Caroma Invisi Series II Manual - Halaman 15
Jelajahi secara online atau unduh pdf Manual untuk Toilet Caroma Invisi Series II. Caroma Invisi Series II 16 halaman. Urinal concealed cistern
Juga untuk Caroma Invisi Series II: Panduan Instalasi (20 halaman)
Servicing Requirements
Troubleshooting Guide
Spare Parts Information
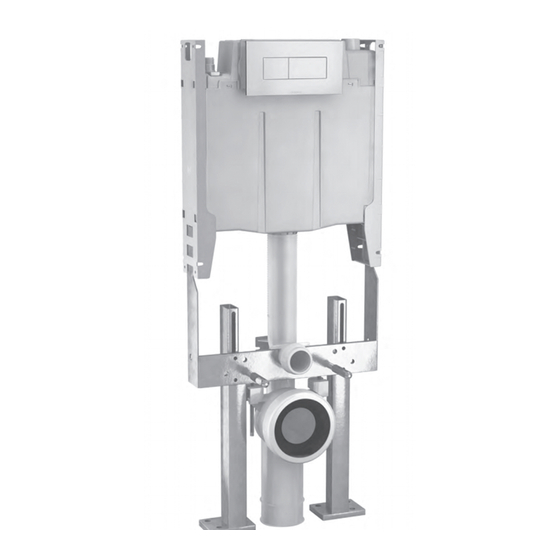
Maintenance & Spare Parts Instructions
1
Ensure water is turned off and remove Inlet
Valve from tank as per the instructions on
page 13.
3
687 040D
Seal
Remove seal from Cap Assembly.
15
• Inlet Valve Seal may require periodic cleaning (dependant on water quality).
Procedure as defined below.
• Inlet Valve is slow to fill OR fails to open ► Ensure tap is open.
• Inlet Valve fails to close ► Clean & inspect seal as described above, replace Cap Assembly
• If any other issues arise ► Consult a plumber or Caroma After Sales Service.
• Caroma Invisi II Inlet Valve compatible Spare Part Kits are:
687 171 Containing - 1 x Complete Unifill Inlet Valve
- with bayonet connection
687 049 Containing - 1 x Cap Assembly
- 1 x Seal with Lever
687 040D Containing - Seal only
Refer to Maintenance & Spare Parts Instructions
2a
Bracket
To replace complete Inlet Valve:
Rotate nut clockwise & pull to disconnect
it from the Bracket.
4
Wash seal to remove any dirt and inspect
for damage.
& Seal if damaged.
Inlet
A
Valve
INVISI
Servicing - Inlet Valve
687 049
Cap Assembly
687 040D
Seal
2b
B
A
To clean and inspect seal:
Unclip the Adjustment Screw, rotate
clockwise & pull to remove cap assembly.
C
5
Helplines
A
Replace seal onto cap assembly.
If necessary replace cap & Seal (Spare Part
Kit 687 049).
Push & rotate counter-clockwise to re-
attach cap assembly, re-clip Adjustment
Screw and re-fit into tank.
™
SERIES II
C
Cap
Assembly
Adjustment
Screw
B
D