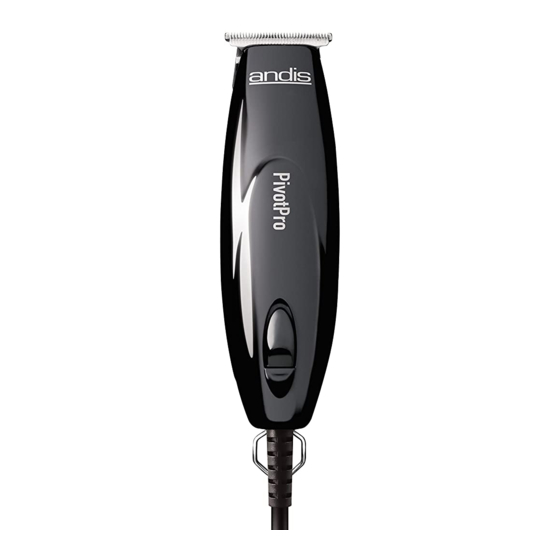
Andis Pivot Pro Trimmer PMT-1 Panduan Petunjuk Penggunaan & Perawatan - Halaman 3
Jelajahi secara online atau unduh pdf Panduan Petunjuk Penggunaan & Perawatan untuk Gunting Rambut Andis Pivot Pro Trimmer PMT-1. Andis Pivot Pro Trimmer PMT-1 17 halaman. Andis company pivot pro trimmer specification sheet
Juga untuk Andis Pivot Pro Trimmer PMT-1: Lembar Spesifikasi (1 halaman), Manual (2 halaman)

6. Never drop or insert any object into any opening.
7. Do not use outdoors or operate where aerosol (spray) products
are being used or where oxygen is being administered.
8. Do not use this appliance with a damaged or broken blade or
comb, as injury to the skin may occur.
9. To disconnect turn control to "off" then remove plug from outlet.
SAVE THESE INSTRUCTIONS
THIS PRODUCT INTENDED FOR PROFESSIONAL USE
OPERATING INSTRUCTIONS
To reduce the risk of electric shock, this appliance has a polarized plug (one blade is
wider than the other). This plug will fit in a polarized outlet only one way. If the plug
does not fit fully in the outlet, reverse the plug. If it still does not fit, contact a
qualified electrician to install the proper outlet. Do not change the plug in any way.
Plug cord into electrical outlet, operate at 120 volt, 60 cycle AC electrical current or as
noted on the unit. To start trimmer, move ON/OFF switch button to ON position, to
stop, move switch button back to original position.
ATTACHING THE TRIMMER COMBS
(Some models do not have combs and sizes will vary by kit)
To attach trimmer combs, slide front of comb over the teeth of the blade (Figure A).
Snap comb down over back of blade until comb snaps into place (Figure B). Combs
help guide hair to cutting blades and give you precise control of hair lengths. Each
comb allows a different length of cut which is indicated on the combs. Use the chart
on the next page to find the approximate lengths of cut. Different blade angles in
relation to the skin, thickness and texture of the hair will vary the cutting length.
REPLACEMENT (REMOVAL) OF BLADE SET
To remove the blades, first unplug the trimmer from the electrical outlet. Turn the
trimmer upside down, so that the blade teeth are pointing down. You may want to
place the trimmer on a flat surface to do this. Unscrew the screws on the blade
(Figure C). Remove the blade. To replace the blade, put the blade back into position
while aligning the yoke of the blade with the pivot arm of the trimmer. (Figure D). Line
up the screw holes in the bottom blade with the two holes in the trimmer housing,
and replace screws. Do not over tighten screws.
3
