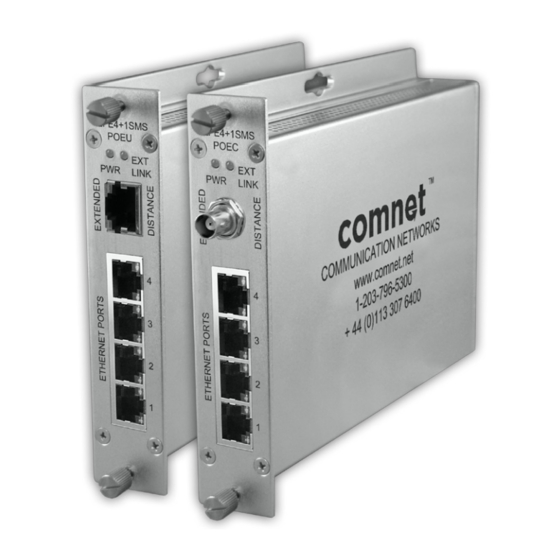
Comnet U) Series Panduan Instalasi dan Pengoperasian - Halaman 7
Jelajahi secara online atau unduh pdf Panduan Instalasi dan Pengoperasian untuk Router Jaringan Comnet U) Series. Comnet U) Series 10 halaman. 10/100 4tx+1ex ethernet self-managed switch with power over ethernet (poe+)

INSTALLATION AND OPERATION MANUAL
INSTALLATION INSTRUCTIONS
1 - SET DATA RATE DIP SWITCHES
Locate the 10/100 data rate DIP switch on the unit.
Set the data rate according to bandwidth required. The default setting for the data rate DIP switch is 100Mbps.
NOTE: The data rate must be set the same on both the local and remote units.
2 - SET WIRE PAIR DIP SWITCHES (UTP MODELS ONLY, FOR COAX MODELS SKIP TO STEP 3)
Locate the wire pair DIP switch on the unit.
Set the pair according to number of twisted wire pairs used (1 or 4). The default setting for the wire pair DIP switch is 4 pair.
NOTE: The number of pairs selected must be set the same on both the local and remote units.
3 - SET LOCAL/REMOTE DIP SWITCHES
Set the Local/Remote switch to Local (L) for Local (head end) devices or Remote (R) for Remote (field end) devices.
The default setting for this switch is Remote.
4 - SET MANAGED/UNMANAGED DIP SWITCHES
Set the Managed/Unmanaged switch to the "Managed" position. The default setting for this switch is Managed.
NOTE: In most cases, you will want to set the unit to "Managed" to prevent port flooding.
5 - CONNECT EXTENDED WIRING
Connect Extended Distance Port to field wiring.
6 - CONNECT NETWORK WIRING
Using CAT5/5e, connect Local unit to network and Remote unit to camera.
7 - CONNECT POWER
Connect power to unit per the following table:
Operating Voltage
Use Power Connectors
Note: For the PoE models only use the PoE power connectors.
Contact the ComNet Design Center, or refer to the appropriate installation and operation manual when configuring and specifying power for a deployment.
†
8 - VERIFY FUNCTIONALITY
See LED table below and Troubleshooting Guide if corrective action is needed.
PWR
GREEN
Power Applied
YELLOW
–
OFF
Power Off
BLINK
–
TECH SUPPORT: 1.888.678.9427
Table 1 – Power Connections per Use Case
Non-PoE
9 to 15 VDC (9 VDC
when in C1 or C2)
†
GND and +Vin
Table 2 – Indicating LEDs
POE
Link (Ethernet Port)
PoE Applied
–
–
Link Detected
No PoE Present
No Link
–
–
CLFE4+1SMS[POE](C,U) SERIES
†
Activity (Ethernet Port)
–
–
–
Data Activity
PoE
48 to 56 VDC
POE+ and POE-
EXT LNK
10M or 100M Link Detected
–
No Link
Data Activity
INS_CLFE4+1SMS[POE](C,U)_REV– 10/27/11 PAGE 7
