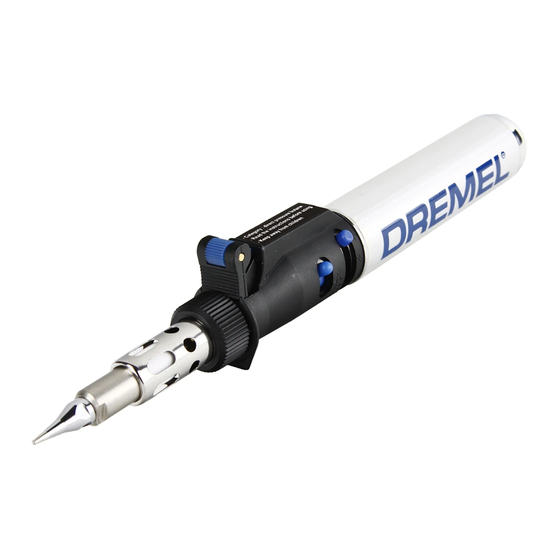
Dremel 2000 Versatip Manual Petunjuk Asli - Halaman 4
Jelajahi secara online atau unduh pdf Manual Petunjuk Asli untuk Senter Dremel 2000 Versatip. Dremel 2000 Versatip 17 halaman.

(RE)FILLING THE GAS TANK
The tool may only be filled and operated with liquid
butane gas .
Make sure the gas you are using is refined butane gas
that can also be used for lighters .
1 .
Hold the tool and the gas refill container as shown
in
.
3
2 .
Fill the gas tank with liquid butane gas observing
the instructions on the refill container . The gas
tank is full when liquid butane gas escapes
through the filling valve . In that case, there is no
more air present in the gas tank .
DO NOT OVERFILL THE GAS TANK. Overfilling
!
occurs when no air escapes from the tank while
filling it. In this case please use a different tip on the
gas tank with which you are filling, to allow air to
escape from the tank.
GETTING STARTED
Familiarize yourself with the tool components, the
different tips and the kit content before use
Remove the carton cover from the ignition switch
before using the tool .
The tool is equipped with a child-safety mechanism
which requires a two-step operation to protect against
accidental ignition .
ON/OFF
To switch on and operate the tool
1 .
Ignite the tool as illustrated .
2 .
The ceramic insulator will start to glow shortly
after ignition . When this is no the case, repeat
steps 1 and 2 .
3 .
To switch off the tool, release the ignition switch .
This will automatically shut off the flow of butane
gas, causing the tool to stop and slowly cool
down .
To operate the tool continuously
1 .
Ignite the tool as described above .
2 .
Slide the lock button to the left .
3 .
To switch off the tool, release the ignition switch
and slide the lock button to the right . This will
immediately stop the flow of butane gas .
USING WITH AN OPEN FLAME
To use the Dremel Versatip with an open flame,
unscrew the flame guard, remove the catalyst (and tip
if attached) and screw flame guard back onto the tool
and securely tighten the flame guard nut .
FLAME LENGTH AND TEMPERATURE
ADJUSTMENT
After ignition, make sure the tool is on by checking
that the catalyst starts to glow .
Then move the flame control lever to the right to
increase flame length and temperature, or to the left to
decrease flame length and temperature .
When using the open flame or hot air the tool is at the
correct temperature immediately after ignition .
Please allow 25 seconds of heat-up time for tips .
3
USE
.
2
:
4
5
:
ACCESSORIES
ALWAYS SWITCH OFF THE TOOL AND ALLOW
!
IT TO FULLY COOL DOWN BEFORE
ATTACHING OR REMOVING ACCESSORIES
•
Soldering tip: regular soldering activities, using
soldering tin
•
Hot cutting knife: cutting of nylon rope to prevent
'feathering'
•
Shaping knife: cutting to size of sheets of plastic
and other heat-sensitive materials
•
Wide flame head: preparing for detailed paint
removal
•
Hot air tip: melting of plastics and other heat-
sensitive materials
Deflector: shrinking of heat-sensitive insulation
•
around electrical wiring
INSTALLING / REPLACING TIPS
ALWAYS ALLOW THE TOOL TO COOL FULLY
!
BEFORE INSTALLING OR REPLACING TIPS
Make sure to use the right tip for the job you want
to do.
Only use tips that fit onto the tool perfectly.
Loose fitting tips might result in an uncontrolled
and unsafe flame.
The use of tips requires the catalyst to be installed .
1 .
Unscrew the flame guard nut and remove the
flame guard .
2 .
Slide in the catalyst into the flame guard with the
narrow part facing outward .
3 .
Place the flame guard and catalyst back on to the
tool and securely tighten the flame guard nut .
4 .
The soldering tip, cutting knife tip, shaping knife
tip and hot blower tip can be screwed onto the
catalyst . Secure the bits tightly using the 7 mm
wrench .
5 .
To remove a tip, simply use the 7 mm wrench to
unscrew the tip . Use the 8 mm wrench to hold the
catalyst in place if required .
6 .
The wide flame head tip and the deflector tip can
be slid over the end of the catalyst . To remove
them slide off the catalyst .
MAINTENANCE AND CLEANING
ALWAYS ALLOW THE TOOL TO COOL FULLY
!
BEFORE INSTALLING OR REPLACING A NOZZLE
INSTALLING / REPLACING A NOZZLE
The nozzle can get clogged, due to butane gas
impurities . To prolong the life of the tool, the nozzle
is replaceable (a replacement nozzle can be ordered
through your dealer) . Should the nozzle be clogged,
follow these steps to replace the nozzle:
1 .
Unscrew the flame guard nut .
2 .
Remove flame guard (and catalyst and tip if
applicable) .
3 .
Unscrew the ceramic insulator .
4 .
Remove the nozzle (small copper part) by hand by
gently turning and pulling it .
5 .
Install new nozzle with little opening facing
outward .
4
