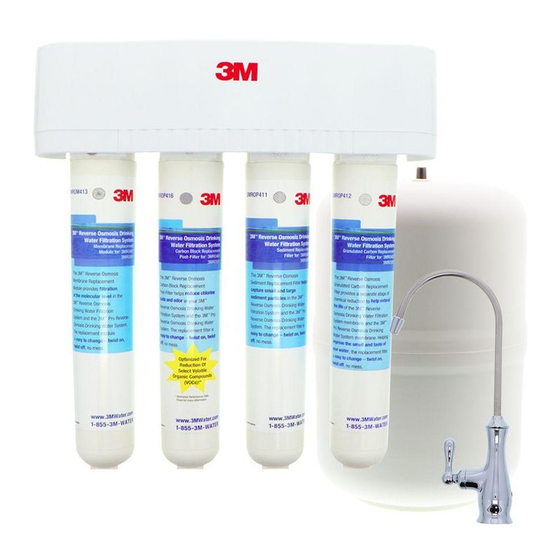
3M 3MRO401 Panduan Petunjuk Pemasangan dan Pengoperasian - Halaman 5
Jelajahi secara online atau unduh pdf Panduan Petunjuk Pemasangan dan Pengoperasian untuk Sistem Penyaringan Air 3M 3MRO401. 3M 3MRO401 12 halaman. Reverse osmosis drinking water filtration system
Juga untuk 3M 3MRO401: Petunjuk Instalasi dan Pengoperasian Untuk (12 halaman)

I. Installation Instructions
A. DETERMINE THE SYSTEM LOCATION
The system should be located under a sink. The exact placement
of the various components will vary from installation to installation.
You must decide where to install the faucet, tank and filtration
assembly by balancing convenience with ease of installation and
servicing. (See Fig. 1).
3/8" Black
Tubing
Feedwater
Connection
Placement
3/8" Blue
Tubing
Drain
Saddle
Sink Drain
C. DETERMINE FAUCET MOUNTING LOCATION
If the sink already has a hole provided that can accommodate the
RO faucet, then no drilling is required. Additionally, a sprayer may be
disconnected to provide a suitable mounting hole for the RO faucet. A
pipe cap or plug will be required to seal the connection.
If drilling is required we strongly recommend you contact a
professional installer. The faucet should be positioned so that it empties
into the sink and the spout swivels freely for convenience.
Before drilling the hole, always check underneath the sink to ensure
that nothing will interfere with mounting the faucet such as reinforcing
ribs, support brackets or the cabinet construction.
If drilling a hole in your sink is required, the professional installer
should follow the instructions below.
D. MAKE THE FAUCET MOUNTING HOLE
CAUTION
To reduce the risk of eye injury while drilling countertop for faucet
installations:
• Safety glasses MUST be worn during the sink hole drilling operations.
1/4" Green
Tubing
Red SFC Tubing
Storage Tank
Valve
3/8" Yellow
Tubing
1/4" Orange
Tubing
Storage Tank
Filtration System
Fig. 1
Air Gap Device
(e.g. Gap-A-Flow,
not included)
B. PREPARE THE AREA FOR INSTALLATION
Inspect the cold water supply line and determine if any special
fittings, in addition to what is included in the kit, are required.
It is a good idea at this time to check the condition of the undercounter
plumbing for any existing or potential leaks. Make sure to perform any
necessary repairs prior to the installation of the drinking water system.
Storage Tank
Valve
Red SFC Tubing
black tubing with
the optional connection
to a basement floor drain
Laundry Sink,
Standpipe or
Floor Drain
* For best flow, keep the tubing as short as possible
IMPORTANT NOTES
** Mount the storage tank on a shelf or strap it between two floor joists
•
The drinking water system faucet should be located on a flat surface,
conveniently located near the sink, so that it empties into the sink.
Most sinks have pre-drilled holes designated for sprayers, soap
dispensers, and other accessories. If your sink does not have an
extra hole, we highly recommend professional installation.
•
Porcelain, enamel, and ceramic sinks require special procedures for
drilling holes. Professional installation is highly recommended.
Drilling 7/8" diameter hole through countertop or stainless steel sink:
1. Locate area to be drilled. Mark center of hole with center punch.
2. Drill hole with 7/8" drill bit suitable for countertop materials or cast
iron/stainless steel.
3. With grinding wheel or file, smooth out any rough edges.
5
IMPORTANT NOTE:
Faucet without
Air Gap
3/8" Yellow
Tubing*
Storage
Tank**
Faucet Adapter
3/8" Blue
Tubing*
For refrigera-
tor icemaker or
water dispenser
hookup, tee into
tubing
Cold Water
Supply Pipe
1/4" Orange
Tubing
Filtration
system
