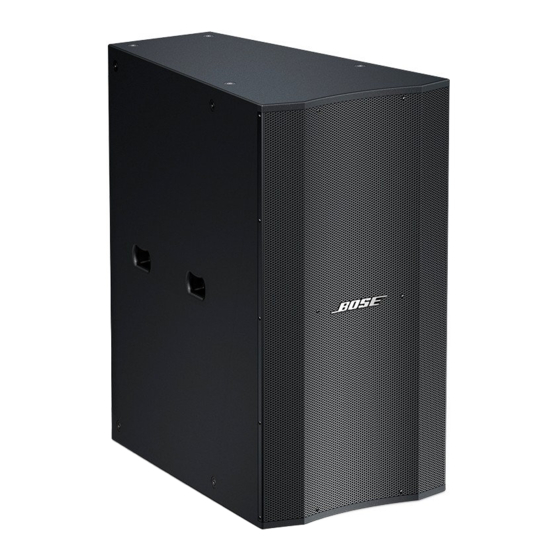
Bose Panaray LT3202 III Mid/High Panduan Servis - Halaman 25
Jelajahi secara online atau unduh pdf Panduan Servis untuk Pembicara Bose Panaray LT3202 III Mid/High. Bose Panaray LT3202 III Mid/High 27 halaman. Panaray lt series iii
Juga untuk Bose Panaray LT3202 III Mid/High: Panduan Instalasi (32 halaman), Panduan Referensi (40 halaman)

High Frequency Compression Driver Diaphragm Replacement Procedure
The compression driver diaphragm is replaceable using a kit, part number 181470 or 276861.
Perform the steps below.
1. Remove the compression driver using the disassembly procedures for the Panaray
®
speaker
you are repairing.
2. Place the driver on a flat surface. Using an allen head wrench, remove the three cap screws
that secure the driver cover in place. Lift it off.
3. Note the alignment of the diaphragm assembly and lift it straight off of the magnet assembly.
4. Ensure that there is no dirt or debris in the magnet gap. Insert a small piece of clean paper
into the gap and work it around the perimeter of the gap to ensure that it is clean. Blow any
debris out of the gap with dry compressed air, if available.
5. Align the replacement diaphragm with the magnet assembly. Carefully slide the voice coil into
the gap of the magnet assembly. Take care not to damage the voice coil.
6. Ensure that the rubber gasket on the compression driver cover is properly aligned to provide
an airtight seal. Align the cover with the diaphragm and slide it into place.
7. Secure the compression driver cover in place using the three allen head cap screws removed
in step 2. Torque them in the following sequence; clockwise to 5 inch lbs, counter-clockwise to
15 inch lbs and clockwise to 25 inch lbs.
8. Re-install the compression driver into the cabinet. Observing polarity, connect the driver wires
from the input panel.
9. Replace the rear panel.
10. Perform the test procedures in this service manual to ensure proper operation before return-
ing the unit to the customer.
25
