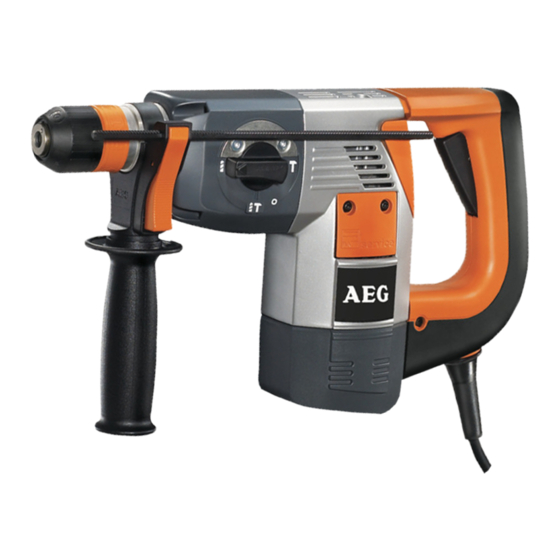
Atlas Copco PN 3500 Petunjuk Perbaikan - Halaman 2
Jelajahi secara online atau unduh pdf Petunjuk Perbaikan untuk Bor Atlas Copco PN 3500. Atlas Copco PN 3500 18 halaman.

Special Tools
Forcing disks
Required
Special pliers
(Dis-) Assembly tool
Sleeve
Screw locking device Omnifit 80
Important!
Before beginning the maintenance work, perform an initial check with a high voltage test according
to VDE (see chapter Electrical and Mechanical Test Instructions).
Before all repair work, pull the power plug from the socket!
Disassembly
1
Removing the
Loosen the two screws (6) on both sides
carbon brushes
and remove the respective service cov-
ers (5).
2
Remove the cables (3) and pull the brush
holders (4) from the housing.
3
Put the springs (1) aside (see illustration)
and pull out the carbon brushes (2).
4
Pull the carbon brush cables together with
the carbon brushes (2) from the housing.
1
Only applicable
Remove the rubber cap (1).
for PN 3500:
2
Remove the spacer (2).
Dismantling the
3
SDS-Plus-recep-
Depress the sliding sleeve (4) and lever
tion
off the locking ring (3) with aid of a screw-
driver.
4
Remove the sliding sleeve (4) and the re-
taining ring (5).
5
Depress the retaining disk (7) and press
out the ball (6) with aid of a screwdriver or
remove it with a magnet.
6
Remove the retaining disk (7) and the
spring (8).
Repair Instructions No.179.11/97
PN 3500 / PN 3500 X
4931 599 021
4931 599 057
4931 5990 84
4931 599 038
4931 945 651
1 2 3
1
2
3
3
4
5
2
6
6 7 8
4
5
PAGE
1
1
2
