DROPSA 1524175 Series Panduan Pengoperasian dan Pemeliharaan - Halaman 4
Jelajahi secara online atau unduh pdf Panduan Pengoperasian dan Pemeliharaan untuk Pompa Air DROPSA 1524175 Series. DROPSA 1524175 Series 8 halaman. Pneumatic pumps for grease

•
MOTOR BODY
OVERHAULING THE MOTOR UNIT
After removing the pumping unit as described above, secure the motor body (16) in a vice and remove the two spring pins
(51) using an appropriate awl. Undo the conjunction nut (59) and the complete dip pipe. Undo the screws (28) and the
fittings (1) and remove the exchanger (26). Using a suitable pipe bender, unscrew the cylinder (7), locking it in place at the
height of the part (2) and remove the cylinder. Remove the piston (5) unscrewing the nut (4). Check the state of wear of the
cylinder and the piston. Remove the upper stem guide (13). Remove the two inverter units (20-19-18-17). Remove the stem
(9-11-15). Check the state of wear and sliding of the part (15). Remove the Seeger ring (32) and slide out the parts 31-30-29-
14. Check the state of wear. Check the exchanger unit. Undo the screws (21), remove the fork (22) and check the plate (24).
WARNING! If disassembling the motor, we recommend replacing all the gaskets (see KIT). To reassemble the motor, carry out
the operations described above in reverse.
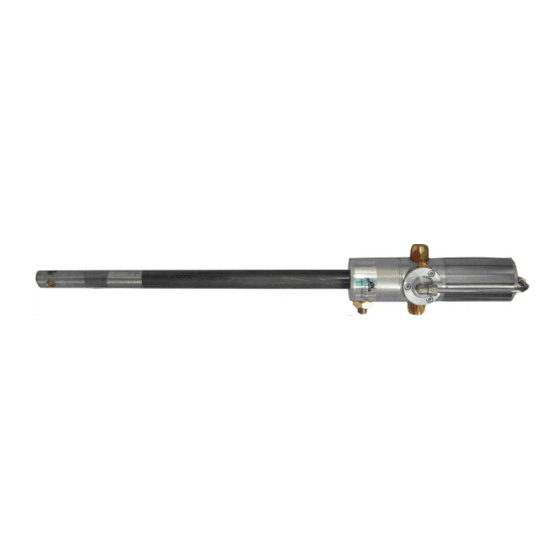
GREASE GUN COMPLETE WITH SINGLE JOINT
- OPERATING PRESSURE: 350 - 400 bar (5145 - 5880 psi)
POS. QTY.
1
2
Elbow 1/8 X 8
2
1
Cylinder plug Ø 65 mm. (2.5 in.)
3
2
O-ring 3225
4
1
M10 nut
5
1
Piston
6
2
Piston washer
7
1
Motor cylinder Ø 16 mm. (2.5 in.)
8
1
Recirculation pipe
9
1
Upper stem
11
1
Lower stem
12
1
O-ring 115
13
1
Upper stem guide
14
2
O-ring 3075
15
1
Exchanger body
16
1
Motor body
17
2
Inverter plate
18
2
Cylinder
19
2
Spring
20
2
Spring support plug
21
2
M 4 screw
22
1
Fork
23
1
O-ring 2018
24
1
Inverter plate
25
1
O-ring 2125
26
1
Exchanger body
27
1
Silencer
28
1
M 5 screw
29
1
Guide bushing
30
1
Gasket
31
1
Closing flange
32
1
Seeger Diam: 24mm
33
1
M5 grub screw
DESCRIPTION
4
