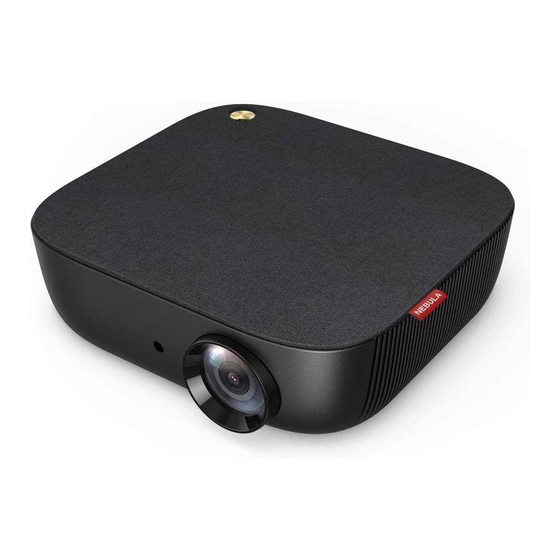
Anker Nebula Prizm II Pro Panduan Pengguna - Halaman 7
Jelajahi secara online atau unduh pdf Panduan Pengguna untuk Proyektor Anker Nebula Prizm II Pro. Anker Nebula Prizm II Pro 14 halaman.

3. Prepare the Remote Control
The remote control comes with two AAA batteries.
① For first-time use, remove the battery insulation tab to
power the remote control.
② To replace the batteries, slide to open the battery
compartment, insert new batteries (matching the polarity
(+/-) as indicated), and close the battery compartment.
4. Power On
① Connect this projector to the outlet by using the
provided power cord and adapter.
② Remove the lens cover.
③ Press the power button on the front panel or
remote control once.
④ Turn this projector towards a flat, white projection
surface.
⑤ To focus the image, rotate the lens.
5. Powering the Nebula Prizm II Pro with
Android TV
Follow the on-screen instructions to complete the setup
process.
Option 1. Quick setup
Android phone users can follow the instructions to quickly
set up Android TV with your Android phone.
Option 2. Set up Nebula Prizm II Pro
① Skip the quick setup process.
② Connect Nebula Prizm II Pro to the network.
10
D2241_EN_Manual_60X110mm_20181121_V01.indd 10-11
AC-IN
on the
③ Sign in with your Google account.
Your Nebula Prizm II Pro will be powered by Android TV
after finishing the setup process.
6. Settings
Go through the setup process when you turn on Nebula
Prizm II Pro for the first time.
1. Network
This projector can be connected to the Internet via a
wireless (Wi-Fi) connection.
① On the home menu, select [Settings] > [Network &
Internet] and press
.
② Follow the on-screen instructions to finish setting up
the network connection.
2. Projector
Press
on the remote control to access the home menu,
select [Settings] > [Device Preferences] > [Projector
Settings], and press
.
[Color
[Norm] / [Cool] / [Warm]
temperature]
[Projector
[Front Projection]: The device is located
mode]
in front of the projection surface.
[Rear Projection]: The device is located
behind the projection surface.
[Inverted Front Projection]: The device
is hanging from the ceiling in an upside
down position. The image is rotated by
180 degrees.
[Inverted Rear Projection]: The device
is hanging from the ceiling in an upside
down position behind the projection
surface. The image is rotated by 180
degrees and horizontally mirrored.
11
2018\12\21 星期五 16:37:37
