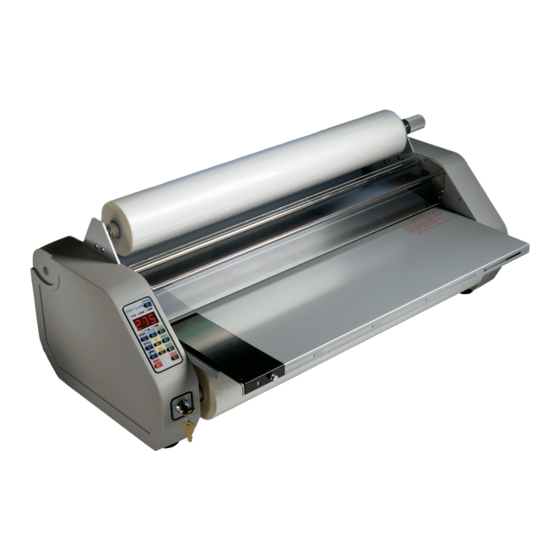
Dry-Lam 27" Buku Petunjuk - Halaman 8
Jelajahi secara online atau unduh pdf Buku Petunjuk untuk Laminator Dry-Lam 27". Dry-Lam 27" 15 halaman. School & office laminators

I. Unpacking
Remove the laminator from its box by grasping the housings and pulling up. Do not use
rollers or shafts as handles- this could cause damage. Choose a location for the laminator that
is clean, well-lighted and draft free. Make sure it is not in the path of any fans, room air
conditioners, or positioned too close to the wall. The laminator comes fully assembled. All
you have to do is load the film onto the supply mandrels, thread the film through the machine,
and install the feedtable.
II. Information About Laminating Film
Laminating film is made up of two layers: a glossy layer which gives the lamination its
strength, clarity and rigidity, and a dull or matte side which is heat activated and serves as the
"glue" to bond the film to the product being laminated. Once heated, small amounts of the
"glue" side can stick to the heat shoes and rollers and must be periodically cleaned from the
laminator.
Laminating film is available in a variety of different lengths, widths and thicknesses. The Dry-
Lam Laminator is designed to use 1.5 mil (#150), and 3 mil (#300), thick films.
III. Operating
A. Control Panel
The control panel is located on the left side of the laminator. This panel is used to control the
various machine functions listed below.
Display (O,P)
The display of the Laminator will show the 3 different parameters of the machine; temperature,
speed, and usage counter. The default display mode is usage counter. If the machine is not yet up
to temperature, the machine will display the set point temperature. When the machine reaches the
set point temperature, the usage counter will be displayed. If the speed is adjusted, the machine
will momentarily display the speed and then quickly return to usage counter mode. The "Display"
button allows you to toggle between any of the 3 settings for the display.
Power (E)
The "On/Off" button turns the machine on.
Heat (F,G)
The temperature controls are the "Temp Up" and "Temp Down" buttons (yellow blocks). These
buttons are used to adjust the temperature currently displayed. The temperature displayed is the
3
Note: As the diameter of the film roll decreases, tension should be reduced.
To increase tension, turn the adjusting knob clockwise. To decrease tension, turn the knob
counterclockwise. If the tension is not equal top and bottom, the laminated product will curl. If
the material curls up as it comes out of the machine, the top roll is probably tighter than the bottom.
If it curls down, the bottom roll is probably tighter.
Note: Make sure the black disks are flat against the sidepanel. They should be rotating, both top
and bottom, while film is feeding.
IV. Options
A. Footswitch: For hands free operation, the footswitch plugs easily into the rear of the machine.
(For installation of the footswitch see Appendix B)
B. Slitter Kit: The In-line slitter allows document trimming during operation. ,(item #202005 25"
kit), (item #202000 27" kit). (For installation of the slitter kit see Appendix C)
16
