Daikin R32 Split Series Panduan Instalasi - Halaman 12

Jelajahi secara online atau unduh pdf Panduan Instalasi untuk Kipas angin Daikin R32 Split Series. Daikin R32 Split Series 14 halaman. R32 split series
Juga untuk Daikin R32 Split Series: Panduan Instalasi (17 halaman), Panduan Instalasi (16 halaman), Panduan Instalasi (16 halaman), Panduan Instalasi (16 halaman), Panduan Instalasi (17 halaman), Panduan Instalasi (16 halaman), Panduan Instalasi (20 halaman), Panduan Instalasi (14 halaman), Panduan Instalasi (14 halaman), Panduan Pengoperasian (16 halaman), Panduan Pengoperasian (16 halaman), Panduan Pengoperasian (8 halaman), Panduan Instalasi (17 halaman), Panduan Instalasi (16 halaman), Panduan Instalasi (20 halaman), Panduan Instalasi (20 halaman), Panduan Instalasi (16 halaman), Panduan Instalasi (16 halaman), Panduan Instalasi (14 halaman), Panduan Instalasi (16 halaman), Panduan Instalasi (17 halaman), Panduan Instalasi (20 halaman), Panduan Instalasi (13 halaman)
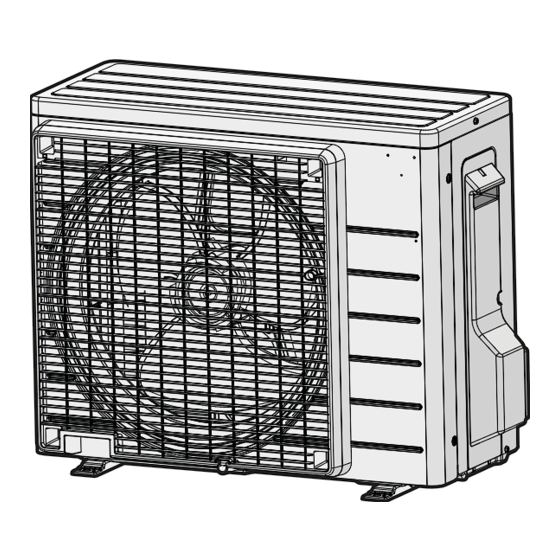
Daikin R32 Split Series Panduan Instalasi
Facility Setting
(cooling at low outdoor temperature)
This function is designed for facilities such as equipment or computer rooms. It is never to be used in a
residence or office where people occupy the space.
„ Cutting jumper 4 (J4) on the circuit board will extend the operation range to 14°F
(–10°C). Installing an air direction adjustment grille (sold separately) will further
extend the operation range to –4°F (–20°C). In these cases, the unit will stop
operating if the outdoor temperature falls below –4°F (–20°C), restarting once the
temperature rises above this level.
1) Remove the top plate of the outdoor unit. (4 screws)
2) Remove the Electric wiring box cover.
3) Cut the jumper (J4) of the PCB inside.

When attaching the drain pan heater

WARNING
• Make sure to turn the power OFF before performing work.
In high humidity areas or heavy snow areas, it is recommended to attach a drain pan heater to prevent ice
build-up from the bottom frame.
1) Attach the drain pan heater in accordance with the installation manual included
with the drain pan heater.
2) Remove the top plate of the outdoor unit. (4 screws)
3) Remove the Electric wiring box cover.
4) Cut the jumper (J9) of the PCB inside.
11
Hook
Electrical wiring box cover
(3 places)
Cut the jumper (J4)
Hook
Electrical wiring box cover
(3 places)
Cut the jumper (J9)
English