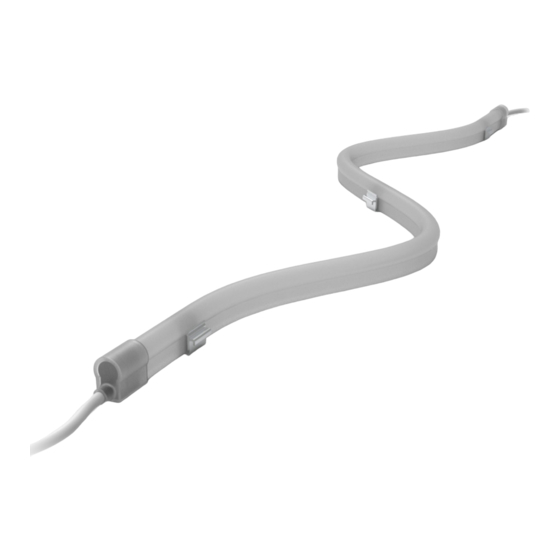
Daintree Contour Gen 2 Flex Panduan Instalasi - Halaman 5
Jelajahi secara online atau unduh pdf Panduan Instalasi untuk Peralatan Pencahayaan Daintree Contour Gen 2 Flex. Daintree Contour Gen 2 Flex 9 halaman. Led lighting system

Contour Gen 2 Flex (Side Bend)
Push the light engine segments
4
down into the Flex Rail.
Cut end
at top
Uncut
end at
Fill end cap with
bottom
silicone and install
For vertical or near vertical
5
installations, any cut-end
termination of a Contour
piece shall reside at the
top of the design.
RISK OF FIRE: Waterproof wire connection and all cut ends for outdoor or wet installations. Weather box is required for all outdoor
or wet locations electrical connections.
RISQUE D'INCENDIE: Étanchéifier les connexions électriques et sceller l'extrémité des sections coupées effectuées à l'extérieur ou
pour un environnement exposé à l'eau. Un boitier étanche est requis pour les connexions électriques effectuées à l'extérieur ou
dans un environnement avec exposition à l'eau.
Joining with Light Guide Connectors, Corners and Bends
Electrical grade
silicone
8
Linear: At each gap
between sections, apply
silicone on both sides
to secure light guide
connector. Snap on a light
guide connector.
WARNING/AVERTISSEMENT
RISK OF FIRE: The light engine is not intended for excessive or repetitive bending or
stretching. If the silicone does crack, replace the light engine.
RISQUE D'INCENDIE: Les modules DEL Contour ne sont pas conçus pour des pliages
excessifs, répétitifs ou pour être étirés. Si le silicone montre des signes de craquement,
remplacer le module DEL Contour.
+
–
To connect two light engines,
6
first strip wire ends back
0.5 in. (13mm). Then join wires
together using twist-on wire
connectors.
WARNING / AVERTISSEMENT
bend one
Electrical
light into a
grade
silicone
9
Corner: For all corners (planar,
inside, outside) apply silicone
on both sides to secure light
guide corners. Snap on corner.
Follow Steps 8-9 if wires are cut.
5
Weather box
can be painted
Insert wire connectors into
7
weather box. Fill with electrical
grade silicone and close box.
Weather box can be mounted
using #8 (M3) screws.
Do not
corner
Installation Guide
