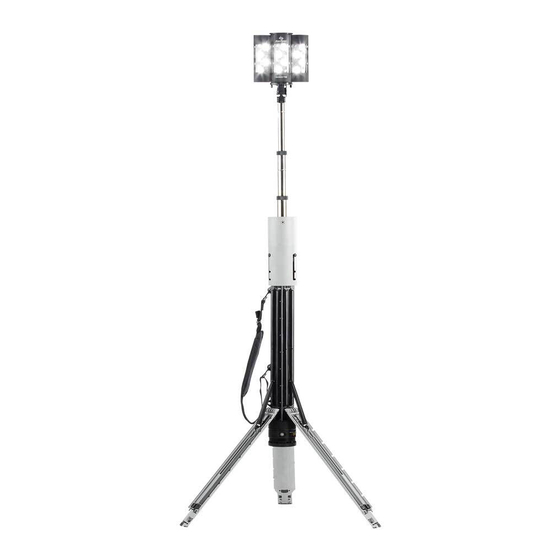
Foxfury Lighting Solutions 200-9T32 Panduan Produk - Halaman 14
Jelajahi secara online atau unduh pdf Panduan Produk untuk Peralatan Pencahayaan Foxfury Lighting Solutions 200-9T32. Foxfury Lighting Solutions 200-9T32 20 halaman.
Juga untuk Foxfury Lighting Solutions 200-9T32: Panduan Memulai Cepat (6 halaman)

INSTALLING THE BATTERY TUBES | 15 MINS
Installing the Nomad
them but in reverse order.
LOWER BATTERY TUBE
WARNINGS
Be sure to check polarity (positive ( + ) and negative ( – )) when installing the
!
Battery Tubes.
1
1.
Start with the LOWER Battery Tube. Attach the black Cap to the
NEGATIVE end of the Battery Tube. While holding the Cap in place,
reinsert it into the Battery Compartment.
2
2.
While still applying pressure to the bottom Cap, attach the red Cap to the
opposite end (POSITIVE end) of the Battery Tube. Once secure, push
down again and slide the Battery Tube back into place in the Battery
Compartment.
IMPORTANT: Be sure to place the red and black wires directly behind
the Battery Tube before re-installing it into the Battery Compartment.
This will prevent the wires from being damaged, and it will help the
Battery Tube go back into place easier.
3
3.
Once the Battery Tubes are installed, test the Nomad
turns ON. If it does not, check the Battery Tubes for any connection
errors with the positive ( + ) and negative ( – ) ends. Then, place the Battery
Cover back over the Battery Tubes and tighten the four (4) screws
into place.
14
Battery Tubes follows the same procedures as removing
®
(POSITIVE + )
BATTERY TUBE PLACEMENT WHILE INSTALLED
(HORIZONTAL VIEW)
RED CAP
UPPER BATTERY TUBE
(APPROX)
to make sure it
®
