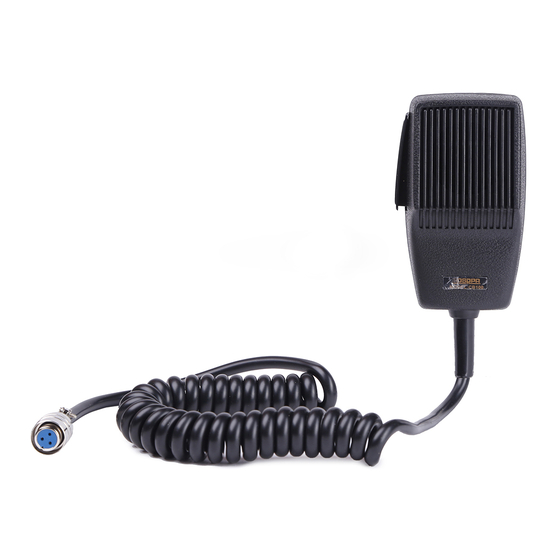
DSPPA CB100 Petunjuk Pengoperasian - Halaman 2
Jelajahi secara online atau unduh pdf Petunjuk Pengoperasian untuk Mikrofon DSPPA CB100. DSPPA CB100 3 halaman. Pa system paging microphone

Appearance
ON/OFF button
Graphical illustration of microphone
connector to controller
2
1
Red line + yellow
Shield layer
3
Black line or vacant
3-foot Cannon plug
Note: In most cases, Cannon plug is for
connection to microphone jack on front panel of
the controller; 6.35mm plug is for connection to
microphone jack on rear panel.
Instructions for Use
1.Connect the microphone to designated amplifying devices by using a Cannon plug or 6.35
mm plug, and tune the volume knob on amplifying devices to optimal volume level.
2.Hold the microphone in hand and keep the sound pick-up window facing the front side,
then press the ON/OFF button on the left side (when sound pick-up window faces the
user) of the microphone before the speech begins. When the speech is finished, release the
microphone switch which automatically pops up and cuts off the speech function.
4.After speech, hang up the microphone front side outward to the device it is attached to.
Note: Do NOT throw off the microphone when speech is finished, to avoid potential
damages to the vibrating diaphragm inside by violent collision. Please do NOT
pull the microphone line violently, to avoid poor contact.
Sound pick-up window
Red line (ON/OFF status, open
grounding when ON/OFF switch is
pressed down; short to grounding
when switch is released)
Yellow line
(Positive output)
2
1
Vacant
3
5
4
Black line
Shielded line (signal)
5-foot Cannon plug
Positive signal (Red + yellow
Black line or vacant
Grounding (shield layer)
6.3mm plug
Guangzhou DSPPA Audio Co., Ltd.
Appearance
ON/OFF button
Graphical illustration of
microphone connector to controller
2
1
Shield layer
Red line + yellow
3
Black line or vacant
3-foot Cannon plug
Note: In most cases, Cannon plug is for
connection to microphone jack on front panel of
the controller; 6.35mm plug is for connection to
microphone jack on rear panel.
Instructions for Use
1.Connect the microphone to designated amplifying devices by using a Cannon plug or 6.35
mm plug, and tune the volume knob on amplifying devices to optimal volume level.
2.Hold the microphone in hand and keep the sound pick-up window facing the front side,
then press the ON/OFF button on the left side (when sound pick-up window faces the
user) of the microphone before the speech begins. When the speech is finished, release the
microphone switch which automatically pops up and cuts off the speech function.
4.After speech, hang up the microphone front side outward to the device it is attached to.
Note: Do NOT throw off the microphone when speech is finished, to avoid potential
damages to the vibrating diaphragm inside by violent collision. Please do NOT pull the
microphone line violently, to avoid poor contact.
Sound pick-up window
Red line (ON/OFF status, open
grounding when ON/OFF switch is
pressed down; short to grounding
when switch is released)
Yellow line
(Positive output)
1
2
Vacant
3
5
4
Black line
Shielded line
5-foot Cannon plug
Positive signal (Red + yellow lines)
Black line or vacant
Grounding (shield layer)
6.3mm plug
