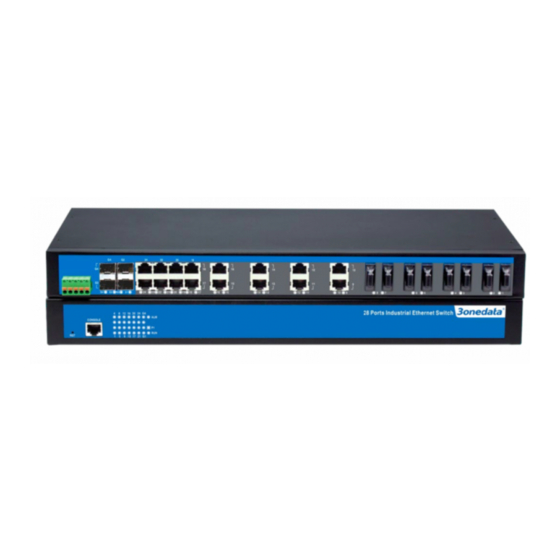
3onedata IES5028-4GS Panduan Pengguna - Halaman 3
Jelajahi secara online atau unduh pdf Panduan Pengguna untuk Beralih 3onedata IES5028-4GS. 3onedata IES5028-4GS 6 halaman. Managed industrial ethernet switch
Juga untuk 3onedata IES5028-4GS: Panduan Instalasi Cepat (4 halaman)

1.
Restore factory settings
2.
Console port
3.
Link/ACT LEDs
4.
Systems running LED
5.
The power LED
6.
Relay alarm LED
7.
Rackmount ears
8.
Power input and Relay output terminal block
9.
1000Base-FX SFP port
10.
10/100BaseT(X) (RJ45) ports
11.
100Base-FX ports
12.
Rear panel connector LEDs
IES5028-4GS-20F-P (100~240VAC/DC)
Front panel
Rear panel
1. Restore factory settings
2. Console port
3. Link/ACT LEDs
4. Systems running LED
5. Relay alarm LED
6. The power LED
7. Power input and Relay output terminal block
8. 1000Base-FX SFP port
9. 10/100BaseT(X) ports
10. 100Base-FX ports
11. Rear panel connector LEDs
IES5028-4GS-24F-P (100~240VAC/DC)
Front panel
Rear panel
1. Restore factory settings
2. Console port
3. Link/ACT LEDs
4. Systems running LED
5. Relay alarm LED
6. The power LED
7. Power input and Relay output terminal block
8. 1000Base-FX SFP port
9. 100Base-FX ports
10. Rear panel connector LEDs
Power supply input
The Industrial Ethernet switches have singe power and
redundancy power two kinds of power input. The singe power
series
rear
panel
provides
5
bit
100~240VAC/DC power entered (L/+, GND, N/-) and relay
output (R+, R-).The unmanaged Ethernet switch relay alarm
function is invalid. Terminal diagram is as follows:
The redundancy power series rear panel provides two
terminal blocks (5 bits) for P1 and P2 input. The redundant power
can be used independently. P1 and P2 can supply power at the
same time, once either of these two powers fails, another power
can acts as backup automatically to ensure reliability of the
network. Voltage input range is 100
block defined as P1: L/+, GND, N/-; P2: L/+, GND, N/- ).
Important notice:
1. Power ON operation: first of all, insert power cable's terminal
block into device's power port, then insert power supply plug into
power source
2. Power OFF operation: First off all, unpin power plug, then
strike the terminal block, please take care of operation sequence.
Relay connection
Relay access terminals in the rear panel of the device, next to the
power input parts, R+ and R- are in the middle of the relay alarm
output section. It is used to detect both power failure and port
failure. The open circuit state in normal non alarm state, when
there is any alarm information to the closed state. This series of
single power supply device is 1 relay alarm output, external alarm
lights or alarm buzzer or external switch signal acquisition device
in order to timely notify operators when an alarm occurs. (Single
power supply power failure alarm is not supported)
wiring
terminal
for
Console port
This series product provided 1pcs procedure test port based in
serial port. It adopts RJ45 interface, located in top panel, can
configure the CLI command through RJ45 to DB9 female cable.
240VAC/DC (terminal
