Comtrol RocketLinx ES8108 Panduan Instalasi Cepat - Halaman 5
Jelajahi secara online atau unduh pdf Panduan Instalasi Cepat untuk Beralih Comtrol RocketLinx ES8108. Comtrol RocketLinx ES8108 8 halaman. Industrial
Juga untuk Comtrol RocketLinx ES8108: Panduan Pengguna (20 halaman), Panduan Instalasi Cepat (6 halaman), Panduan Instalasi Cepat (8 halaman)
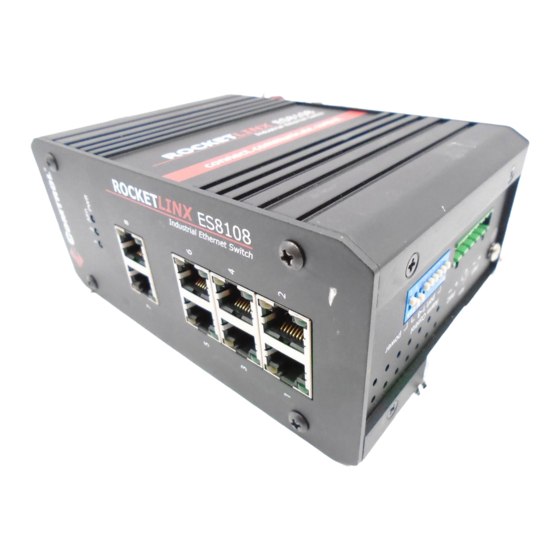
MOUNTING THE SWITCH
Mount the ES8108 on the DIN rail using the DIN rail clip that is attached to
the rear of the unit.
1.
Insert the upper end of DIN rail clip into the back of DIN rail track from
its upper side.
2.
Lightly push the bottom of DIN rail clip into the track.
3.
Verify that the DIN rail clip is tightly attached on the track.
CONNECTING TO THE NETWORK
Connecting the Ethernet Ports
Connect one end of an Ethernet cable into the Ethernet port of the ES8108
and the other end to the attached device. All Ethernet ports support auto
MDI/MDIX functionality.
Switch
3 TD+
6 TD-
1 RD+
2 RD-
Straight-Through Cabling Schematic
Always make sure that the cables between the switches and attached devices
(for example - switch, hub, or workstation) are no more than 100 meters
(328 feet). The cable must meet EIA/TIA-568 100-ohm specifications:
•
10BASE-T: Category 3, 4, or 5
•
100BASE-TX: Category 5 or 5e
Connecting the Fiber Ports (ES8108F/ES8108F-XT)
Connect the fiber port to another fiber
Ethernet device using the following diagram.
An improper connection will cause the fiber
port to not work properly. The fiber port is a
standard or square connector (SC).
Router or PC
Switch
3 RD+
3 TD+
6 RD-
6 TD-
1 TD+
1 RD+
2 TD-
2 RD-
Crossover Cabling Schematic
4
Switch
3 TD+
6 TD-
1 RD+
2 RD-