Auber Instruments WS Series Panduan Cepat - Halaman 2
Jelajahi secara online atau unduh pdf Panduan Cepat untuk Pengontrol Auber Instruments WS Series. Auber Instruments WS Series 14 halaman. Programmable pid temperature controller with dual probe
Juga untuk Auber Instruments WS Series: Panduan Cepat (15 halaman), Panduan Pengoperasian & Instruksi (18 halaman), Panduan Pengoperasian & Instruksi (18 halaman), Panduan Cepat (14 halaman)

Instruments only. Using it to control a not recommended device can be dangerous
and cause fire. Auber Instruments is not liable for damages caused by misuse of
the controller. If you are not sure the controller can be used, please contact Auber
Instruments before use.
If an abnormal display or noise is observed, turn the controller off, unplug the
power cord and contact the manufacturer before using it again.
Clean the controller only when it is cool and unplugged.
Do not allow children to operate the controller.
Operating Instructions
1. Description of the controller.
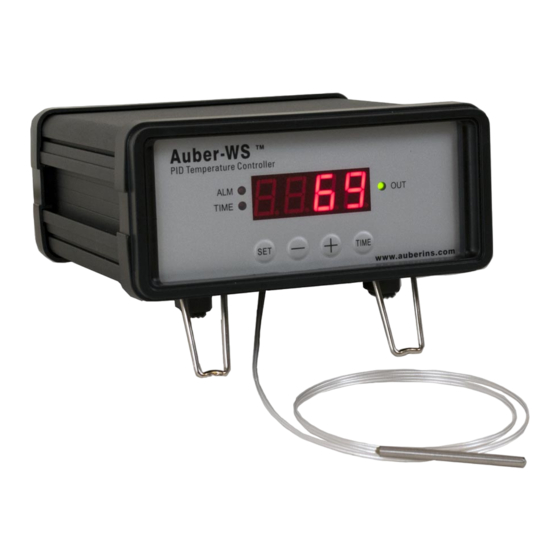
1) TEMP1, Left window - During normal operation, it displays the temperature values
of probe 1. When high or low limit alarm of probe 1 is on, this window will flashing
between the alarm type (AH1or AL1) and the temperature. In the parameter setting
mode, it displays the controller's system parameters.
2) TEMP2/TIME, Right window - During normal operation, it displays the
temperature value of probe 2 (food internal temperature probe), or the time passed
since the controller was powered up. When high limit alarm of probe 2 is on, this
window will flashing between AH2 and the temperature. In the parameter setting
mode, it displays the value of the parameter.
3) Output status indicator - This LED indicates the output status that should be
synchronized with heater. When it is on (lit), the heater is powered. When it is off,
the heater power is off. When it is flashing, it means the heater is on and off
intermittently to reduce the power output. It should be synchronized with the power
light on the cooking device.
Figure 1. Front Panel
2
