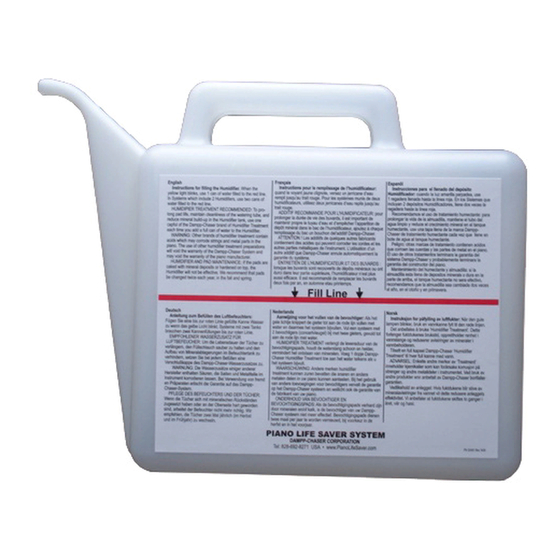
DAMPP-CHASER Piano Life Saver System Panduan Petunjuk Instalasi - Halaman 5
Jelajahi secara online atau unduh pdf Panduan Petunjuk Instalasi untuk Aksesori Untuk Instrumen Musik DAMPP-CHASER Piano Life Saver System. DAMPP-CHASER Piano Life Saver System 9 halaman. Backside vertical 8-part system which includes two humidifiers
Juga untuk DAMPP-CHASER Piano Life Saver System: Petunjuk Instalasi (4 halaman), Panduan Petunjuk Instalasi (8 halaman), Petunjuk Perawatan dan Pemeliharaan (2 halaman)

STEP 3. DEHUMIDIFIER INSTALLATION
First, hold the Dehumidifier inside the piano approximately
where you think it might need to go, to be sure it clears rods
and the plate without touching them. Press the pedals to be
sure they don't touch the Dehumidifier when activated. You may
need to position the tank differently to avoid this problem.
To determine the height of the Dehumidifier, measure 35 cm
from the floor on the treble end and use chalk to mark a line from
front to back on the side of the piano (Figure 9). You will need
two pin pegs. Push a pin peg into the chalk line directly above
the Humidifier heater bar (this will allow the Dehumidifier to be
installed where it is centered over the tank). Measure 35 cm
from the floor of bass end and mount the second pin peg.
Notice that each end of the Dehumidifier extends almost
35 cm. Loosen the two clamp screws that secure the telescop-
ing ends. Notice the holes in the center of the caps at each end
of the rod. Pull out the extension (opposite the end with the
cord) 25 cm and tighten the screw. Put the pin peg at the treble
end into this hole (Figure 10). Now pull out the extension with
the cord and install it on the pin peg at the bass end. This
allows you to hang the rod. Tighten the extension screw loosely
but enough to hold the Dehumidifier in place. Step back and
look at the Dehumidifier to make sure that it is level and cen-
tered over the Humidifier tank and adjust if necessary. Now
tighten the screw to hold the Dehumidifier firmly in place. (Over-
tightening this small extension screw may cause stripping of the
threads.)
FIGURE 9
Installing Dehumidifier
35 cm from the floor of the piano
Note, that with either a tank resting on the floor or a suspended
tank (Step 1-A, page 4), the Dehumidifier should be located
approximately 20 cm above the Humidifier tank. (See the
Humidistat installation instructions below.) If you need to
protect the action from high humidity, mount a 91 cm, 25-watt
Dehumidifier under the keybed and control it with the Humidis-
tat. Be sure the Dehumidifier is mounted under the keybed in a
position that does not interfere with the removal of the bottom
board. Do not place a Dehumidifier in the action.
STEP 4. HUMIDISTAT INSTALLATION
With the Dehumidifier in place, you can now install the Humidi-
stat. It should be noted that the two end vent holes on the top of
the Humidistat act as a "chimney" to vent heat from the Humi-
distat. The holes should not be obstructed in any way in the
final installation. Later in the installation, the Water Sensor
probes, the Smart Bracket and the Light Panels will be plugged
into jack outlets at the bottom of the Humidistat. The Dehumidi-
fier and Humidifier will also be plugged into the Humidistat.
To install the Humidistat, find two C clip Humidistat hangers
(Figure 11). Attach the clips to the top of the Humidistat
by inserting the rectangular base of the clips into the rec-
tangular holes on either side of the 4 vent slots. Rotate the
clips 1/4 turn. You will feel the clips lock into place (Figure 12).
Now you are ready to snap the clips onto the Dehumidifier.
Carefully squeeze the clips onto the Dehumidifier until they
click into place (Figure 13).
FIGURE 10
FIGURE 12
Installing clips
onto Humidistat
FIGURE 13
Clipping Humidistat
to Dehumidifier
5
FIGURE 11
