3onedata GW1118 Series Panduan Instalasi Cepat - Halaman 2
Jelajahi secara online atau unduh pdf Panduan Instalasi Cepat untuk Gerbang 3onedata GW1118 Series. 3onedata GW1118 Series 4 halaman. Modbus gateway
8.
DIP switch
9.
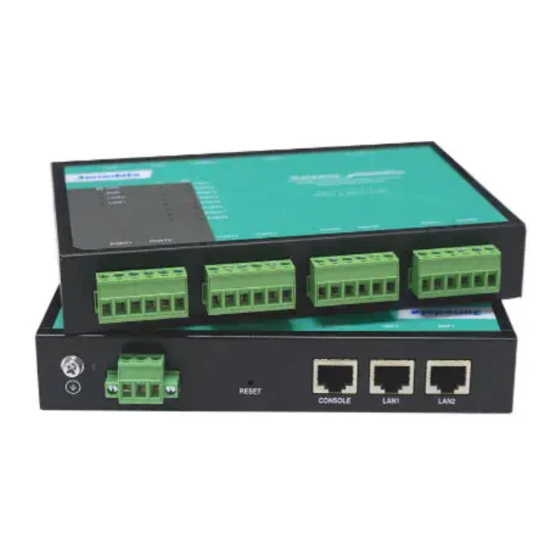
Console Port
10.
100 Base-T(X)
11.
RS-485/422/232 serial port
12.
RS-485/422 serial port
13.
Foot pad
14.
Wall-mounting location hole
【Mounting Dimension】
Unit: mm
Model I
Model II
Note Before Mounting:
Don't place or install the device in area near water or
moist, keep the relative humidity of the device
surrounding between 5%~95% without condensation.
Before power on, first confirm the supported power
supply specification to avoid over-voltage damaging the
device.
The device surface temperature is high after running;
please don't directly contact to avoid scalding.
【Wall-mounted Device Mounting】
Step 1
Adopt M3 screw to install the left/right mounting
board on the device backboard.
Step 2
Place the device on the wall as reference or
reference installation dimension; mark 2 bolt
positions on the wall.
Step 3
Nail M4 screws on the wall and keep 2mm
interspace reserved.
Step 4
Hang the device on two screws and slide
downward, then tighten the screw to enhance
stability, mounting ends.
【Wall-mounted Device Disassembling】
Step 1
Device power off.
Step 2
Unscrew the screw on the wall about 2mm.
Step 3
Lift the device upward slightly; take out the device,
disassembling ends.
Note before powering on:
Power ON operation: First insert the power supply
terminal block into the device power supply interface,
and then plug the power supply plug contact and power
on.
Power OFF operation: first unpin the power plug, then
remove the power line, please note the operation order
above.
【Power Supply Connection】
DC power supply
This device provides 3-Pin 5.08mm pitch
terminal blocks, in which V+ and V- are DC input,
FG is the power grounding input; The power
supply supports non-polarity, power supply range: 12 ~
48VDC.