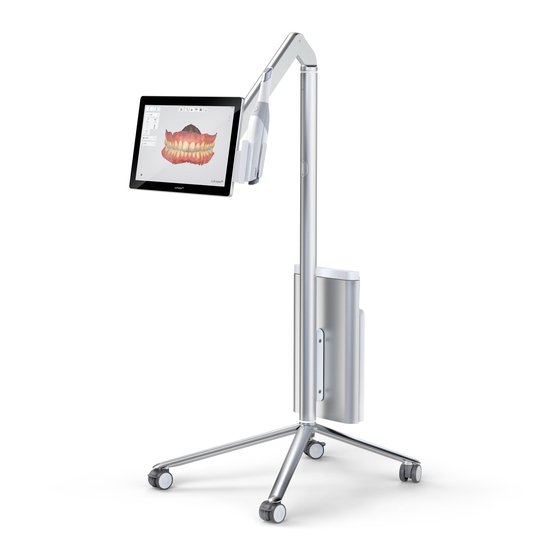
3Shape TRIOS S3A-22 Setup Manual - Halaman 11
Jelajahi secara online atau unduh pdf Setup Manual untuk Peralatan gigi 3Shape TRIOS S3A-22. 3Shape TRIOS S3A-22 14 halaman.

Cleaning and sterilization procedure
Step 1: Clean the tip manually using soap water and a brush immediately
after use . A mild dishwashing detergent or similar is recommended .
Inspect the mirror of the tip after cleaning . If the mirror appears with
stains, smudged or with a milky haze, repeat cleaning using a soft dish
brush and soap water . Rinse with water . Dry the mirror carefully with
a paper towel .
Step 2: Put the tip in a sterilization pouch
The pouch should be sealed . Use either a self-adhesive or heat-sealed pouch .
Step 3: Sterilize the pouched tip in an autoclave with
one of the two programs*:
At 134 °C (273 .2 °F) for a minimum cycle of 3 minutes .
At 121 °C (249 .8 °F) for a minimum cycle of 15 minutes .
Use an autoclave program that dries the pouched tip before opening
the autoclave .
*Autoclave times and temperatures will vary depending on the type
and manufacturer of the autoclave . Please refer to the user manual
of the autoclave manufacturer to verify that the minimum autoclave
parameters are met .
Cleaning and high-level disinfection procedure
Step 1: Clean the tip manually using soap water and a brush immediately
after use . A mild dishwashing detergent is recommended . Inspect the
mirror of the tip after cleaning . If the mirror appears with stains, smudged
or with a milky haze, repeat cleaning using a soft dish brush and soap
water . Rinse with water . Dry the mirror carefully with a paper towel .
Step 2: Disinfect the tip using Wavicide-01 Solution
Immerse the tip completely in Wavicide-01 for 45 to 60 minutes .
See also the Wavicide-01 Solution instructions for use .
Step 3: Rinse the tip
After immersing the tip in the Wavicide-01 Solution for 45 to 60 minutes,
remove the tip and rinse it according to the Wavicide-01 Solution
instructions for use .
Step 4: Dry the tip
Use a sterile and non-abrasive paper towel or cloth to gently
remove remaining drops from the mirror and to dry the tip .
CAUTION
The mirror in the tip is a delicate optical component .
Its clean and undamaged surface is critical for the scan quality .
The mirror should be handled with care . Do not scratch it .
Be careful not to smudge it before scanning a patient .
CAUTION
Always clean the tip immediately after use . If biological
materials (bioburden) are allowed to dry on equipment,
disinfection and sterilization processes may not be effective .
CAUTION
Never autoclave a tip that is not pouched, since this will
leave unremovable stains on the mirror . See the autoclave
manual for more information .
CAUTION
New tips must be cleaned and sterilized/high-level
disinfected before using them for the first time .
CAUTION
A class B Vacuum autoclave according to EN 13060
is required for sterilization of the scanner tip .
CAUTION
The scanner tip can be re-sterilized up to 150 times and must
be disposed afterwards as described in section Disposal .
CAUTION
The scanner tip can be high-level disinfected up to 150
times with Wavicide-01 Solution and must be disposed
afterwards as described in section Disposal .
CAUTION
When high-level disinfecting the scanner tip using
Wavicide-01 Solution, there may be a visual change
to the tip after 70 disinfections . This change is only
visual and does not pose a risk .
IMPORTANT NOTICE
High-level disinfection with Wavicide-01 Solution as an
alternative to sterilization has been validated by 3Shape .
The Wavicide-01 Solution is not allowed and/or recognized
as a disinfectant of medical devices worldwide; always
follow procedures that have been established for your
clinic or institute, as well as any national guidelines .
IMPORTANT NOTICE
Always follow cleaning, disinfection and sterilization proce-
dures that have been established for your clinic or institute,
as well as national guidelines .
IMPORTANT NOTICE
If using Wavicide-01 for high-level disinfection, be sure
to follow the Wavicide-01 Solution instructions for use .
6.2 Cleaning, high-level disinfecting,
and sterilizing the calibration kit
The calibration adaptor must always be attached to a cleaned and sterilized,
or cleaned and high-level disinfected scanner tip, and must not have contact
with patients . If these instructions are not followed, the calibration kit must
be cleaned, high-level disinfected and sterilized .
Cleaning, high-level disinfection and sterilization procedure
Step 1: Disassemble the calibration kit (remove the sleeve from the cal-
ibration target and separate the calibration target from the calibration
adaptor) .
Step 2: Clean the calibration adaptor manually using soap water and a
brush . Sterilize the cleaned calibration adaptor in an autoclave using
one of the programs listed for the scanner tip and using a sterilization
pouch (see section 6 . 1 Cleaning, high-level disinfecting, and sterilizing
the scanner tip) .
Step 3: Clean the sleeve manually using soap water and a brush .
Disinfect the sleeve using the recommended disinfection solution listed
in section 6 .3 Cleaning and disinfecting other parts of the system .
Step 4: The calibration target must only be cleaned with air . The calibra-
tion patches must not be touched and must not be exposed to liquids .
See the important notice below .
11
