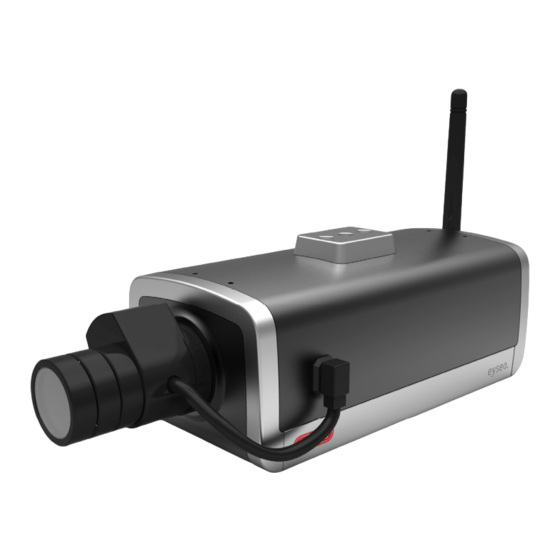
Abus Eyseo TV7223 Panduan Petunjuk Instalasi - Halaman 6
Jelajahi secara online atau unduh pdf Panduan Petunjuk Instalasi untuk Kamera Keamanan Abus Eyseo TV7223. Abus Eyseo TV7223 20 halaman. Progressive scan ccd network camera

Hardware installation
To prevent the risk of electric shock, first connect the socket of the transformer to the network
camera before inserting the transformer into the mains socket.
Consult your dealer for the correct installation of peripheral devices.
Installation in Ethernet
The Progressive Scan Network camera tries to connect first to the wired Ethernet. If no Ethernet is
available, then it will try to detect the wireless network using the set value.
After power up the camera, the LED at the front will flash red once, then the start-up procedure will
begin. During assignment of the IP address this LED will turn green continuously. After this procedure
was performed successfully, the LED will flash 1/second in green mode.
Installation in the WLAN
If the camera is supplied with electricity and no Ethernet is available, the camera switches to WLAN
mode and searches for an access point with the name "default". This name is known as the SSID
(Service Set Identifier). If an access point with the SSID "default" is found, the LED on the front lights
blue.
If connection with the basic settings (SSID: default) is not successful, connect the camera via a cable
to the wired network and configure it.
Make sure that all accessories and articles
listed above are present in the scope of
delivery. Depending on application, an Ethernet
cable may be required. This Ethernet cable
must meet the specifications of UTP Category
5 (CAT 5) and must not be longer than 100
meters.
6
