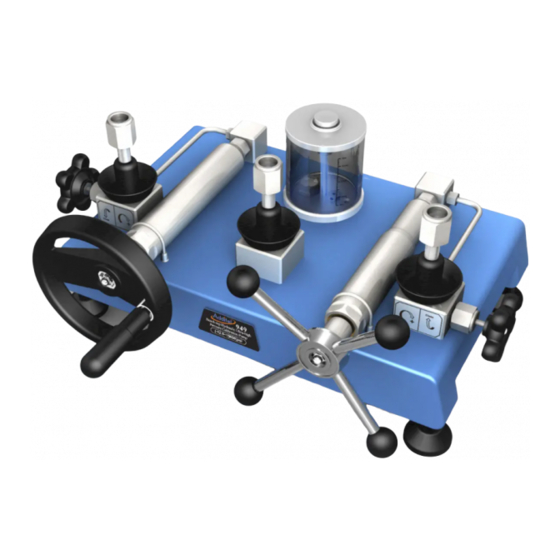
Additel 949 Panduan Pengguna - Halaman 2
Jelajahi secara online atau unduh pdf Panduan Pengguna untuk Peralatan Uji Additel 949. Additel 949 2 halaman. Hydraulic ultra-high pressure test pump

Basic Operation
Note: ① Gauge positions are exchangeable. If only one device under test (DUT) is connected,
the third connector on pump should be closed with a plug.
② Connect the gauges on pump and tighten the connectors using two wrenches.
bar
bar
Purge process (cont.)
Connection
If air is still trapped in the pump,
then repeat the purge process
2 or 3 more times until all the
bar
bar
gas is removed from the system
④Wait for gauge to vent to zero
①Always keep valve(#4)
Bubbles
open during operation
③open
⑤Turn all the way in
Depressurizing process
bar
bar
64
96
Pressure Gauge
Pressure Gauge
32
128
160
④open
③Depressurizing
①Depressurizing
Back to atmosphere
bar
bar
0.6
0.4
Pressure Gauge
0.8
0.2
-1
0
②open
①back to atmosphere
Remark:
A Additel has made a concerted effort to provide complete and current information for the proper use of the equipment. The product specifications and other information contained this manual are
:
subject to change without notice.
B
: Above pictures are just for reference.
All manuals and user guides at all-guides.com
SW
V
mA
COM
24V
64
96
Pressure Gauge
Pressure Gauge
32
128
160
dial gauge
pressure switch
pressure transmitter
C
bar
bar
⑤open
③close
④a few turns
②open
F
bar
bar
64
96
Pressure Gauge
Pressure Gauge
32
128
160
④open
②close
③Fully turn
②open
⑤Fully turn
Maintenance
I
Note: Please degas after filling media liquid,
in case hard to generate pressure.
0.6
0.4
Pressure Gauge
0.8
0.2
-1
0
① Open reservoir
cover vent valve (#4)
A
SW
V
mA
COM
24V
flexible hose
D
Zeroing
64
96
Pressure Gauge
64
96
32
128
Pressure Gauge
Pressure Gauge
32
128
160
160
①Always keep valve(#4)
open during operation
①close
②open
G
Vacuum process
If it is difficult to generate vacuum
pressure, then repeat the purging
process to make sure all the gas
is removed from the system
0.6
0.4
Pressure Gauge
0.6
0.4
0.8
0.2
Pressure Gauge
0.8
0.2
-1
0
-1
0
①open
A
Fill media
②Fill media
Purge pocess
Connection
⑤ Vacuum displayed
on the gauge
bar
bar
①Always keep valve(#4)
open during operation
③close
④Turn all the way out
Pressurizing process
Note: Skip step
③
for dial gauge calibration
in a narrow pressure range
bar
bar
64
96
Pressure Gauge
Pressure Gauge
64
32
128
Pressure Gauge
Pressure Gauge
32
160
②Pre-pressurizing
④high-pressure
Pressurizing
Vent
bar
bar
0.6
0.4
Pressure Gauge
0.6
0.8
0.2
0.8
-1
0
-1
①close
②Vacuum
Drain and Clean
③ Open reservoir cover
vent valve (#4)
④ Unscrew with hex wrench
⑤Remove the
reservoir(#5)
①Open drain valve (#6)
②Collect media using a container
B
②open
E
96
128
160
③close
H
0.4
Pressure Gauge
0.2
0
B
