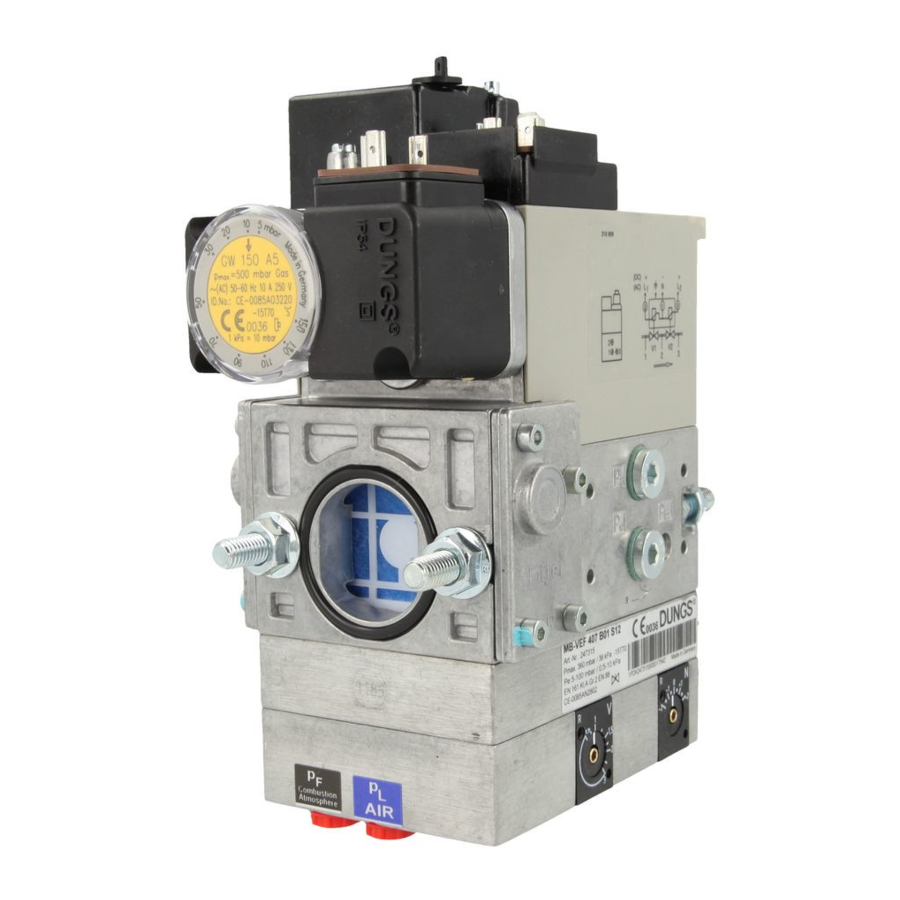
Dungs GasMultiBloc MB-VEF 412 B01 Petunjuk Pengoperasian dan Perakitan - Halaman 4
Jelajahi secara online atau unduh pdf Petunjuk Pengoperasian dan Perakitan untuk Pengontrol Dungs GasMultiBloc MB-VEF 412 B01. Dungs GasMultiBloc MB-VEF 412 B01 16 halaman. Gas-air-ratio control

Gewindeflanschausführung
MB- VEF B01
Ein- und Ausbau
1. Flansche auf die Rohrleitungen
montieren. Geeignete Dichtmittel
verwenden, Bild 1.
2. MB-VEF B01 einsetzen, Lage der
O-Ringe beachten, Bild 2.
3. Muttern A, B, C und D
anziehen,Bild 3.
4. Impulsleitungen p
, p
und p
L
F
anbringen.Seite 5 beachten!
5. Nach Einbau Dichtheits- und
Funktionskontrolle.
6. Ausbau in umgekehrter Reihen-
folge 4
3
2
1.
1
3
p
L
Thread flange version
MB-VEF B01
Installation and disassembly
1. Mount flange onto tube lines. Use
appropriate sealing agent
(see Fig. 1)
2. Insert MB-VEF B01. Note position
of O-rings (see Fig. 2).
3.Tighten nuts A, B, C and D
(see Fig. 3).
4. Attach pulse lines p
, p
Br
L
F
See note page 5!
5. After installation, perform leakage
and functional test.
6. Disassembly in reverse order
4
3
2
1.
p
Br
p
F
Type à raccordement par brides
taraudées MB- VEF B01
Montage / Démontage
1. Visser les brides sur la tuyauterie,
utiliser de la pâte à joints appro-
priée Fig 1
2. Mise en place du MB-VEF, attention
aux joints toriques Fig 2.
3. Serrer les écrous A, B, C et D
Fig 3.
and p
4. Raccorder les conduites d'impulsions
B.r
p
, p
, p
respecter les instructions de
L
F
Br
montage de la page 5.
5. Contrôle de l'étanchéité et des
fonctions.
6. Pour le démontage suivre les
instructions dans le sens inverse
4
3
2
1.
2
C
A
4
Esecuzione flangia filettata MB-
VEF B01
Montaggio e smontaggio
1. montare la flangia alle tubazioni
delle condutture. Utilizzare per
questo mastici adeguati: Fig.1
2. inserire l'apparecchio MB-VEF
B01 e prestare particolare atten-
zione agli O-Ring: Fig 2.
3. stringere i dadi A, B, C e D
Fig. 3.
4. montare le linee ad impulsi p
p
e p
e prestare attenzione a
F
Br
quanto prescritto a pag. 5
5. dopo il montaggio controllare la
tenuta ed il funzionamento.
6. lo smontaggio va effettuato
esattamente in senso inverso:
4
3
2
1.
D
B
,
L
4 ... 16
