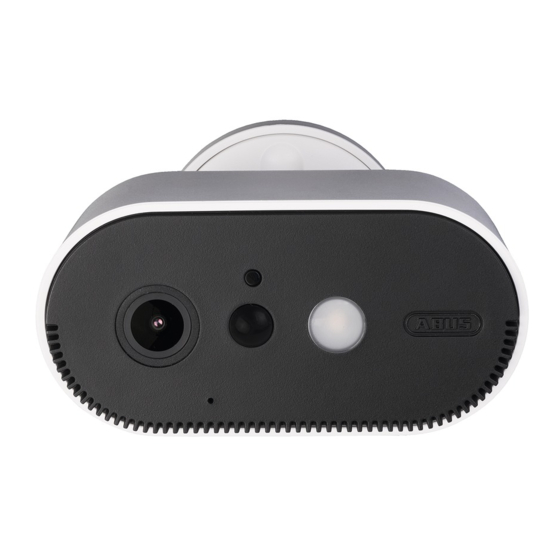
Abus PPIC90200 Panduan Cepat - Halaman 12
Jelajahi secara online atau unduh pdf Panduan Cepat untuk Kamera Keamanan Abus PPIC90200. Abus PPIC90200 16 halaman. Battery cam & base station
Juga untuk Abus PPIC90200: Panduan Cepat (12 halaman), Panduan Cepat (19 halaman)

Alternative
Installation
Alternative
Installation
Wählen Sie aus der Liste der
WLAN-Netzwerke das WLAN Ihres
Heim-Netzwerkes aus.
Select the Wi-Fi of your home
network from the list of Wi-Fi
networks.
24
Alternative
Installation
Alternative
Installation
Falls das Gerät nach dem
Neustart „getrennt" anzeigt,
prüfen Sie ob ihr Smartphone
mit dem Netzwerk verbunden
ist, falls das Gerät weiterhin
„getrennt" anzeigt, setzen Sie die
Basisstation zurück und führen
Sie die Installation erneut durch.
If the device displays
„disconnected" after the reboot,
check if your phone is connected
to the network, if the device still
displays „disconnected", reset
the base station and start the
installation again.
26
Setzen SIe das Kugel-
gelenk ein und schrauben
Sie die Abdeckung auf, bitte
ziehen Sie diese nicht
fest um im Anschluss die
Kamera auszurichten.
Please put hte ball joint
inside and screw the top
cover on. Please do not fix
it , so that the camera can
be aligned.
28
Home
Schrauben Sie den Fixierring auf das Gewinde.
Please screw the fixing ring onto the thread.
Alternative
Installation
Alternative
Installation
Geben Sie das Passwort des
WLAN Ihres Heim-Netzwerkes
ein. Drücken Sie „OK", um die
Verbindung herzustellen. Die
Kamera verbindet sich nun mit
dem Netzwerk, dies kann bis zu
120 Sekunden dauern.
The base station will now connect
to the network. This can take up
to 120 seconds.
25
Kamera
Montage
Camera
Mounting
Bohren Sie anhand der Bohr-
schablone die Löcher vor
und schrauben Sie mithilfe
des Montagematerials die
Bodenplatte fest.
Drill holes into the wall with
the drilling templates and
mont the base plate with
the mounting material to
the wall.
27
29
