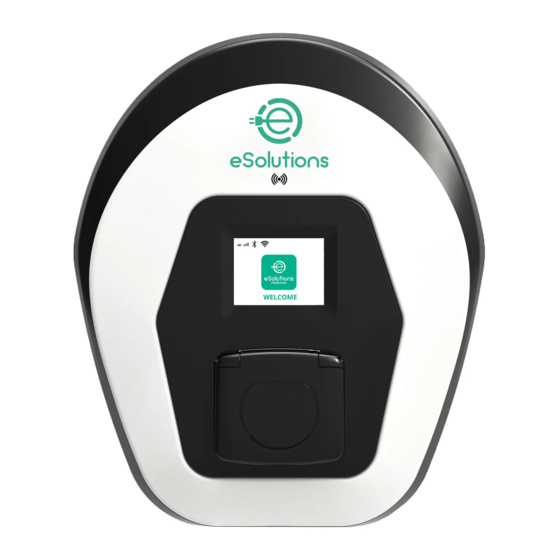
Free2Move eSolutions eProWallbox Panduan Instalasi - Halaman 4
Jelajahi secara online atau unduh pdf Panduan Instalasi untuk Aksesori Mobil Free2Move eSolutions eProWallbox. Free2Move eSolutions eProWallbox 11 halaman.

2.
DPM 2.0 INSTALLATION
1.
Place the Power Meter provided after the main utility meter and before the split power
Utility Meter
2.
For the three-phase or single-phase electrical connection, refer to the dedicated meter
installation manual included in the Power Meter package.
3.
Feed the Modbus communication cables through the wallbox box sheath (C). Suggested
cable: STP class 5E, 0.5 mm
4.
If included connect the Current Transformers as indicated in the meter installation
manual, paying attention to drawn through the clamp the line according to the direction
indicated on the sensor. The neutral cable must not be drawn through the clamp.
5.
Use the following order for connecting the communication cables from the PowerMeter
to the Wallbox. Starting from left on the wallbox RS485 output port CN12
EM330
13
12 11
GND
A-
B+
GND B
A
CN12 Port
Installation manual - Annex
During the installation always refer to the meter installation manual
included in the package.
Eletrical panel
PowerMeter
section.
2
10
T
PowerMeter
Wallbox
A d v a n c e d f u n c t i o n a l i t i e s s e t u p
Wallbox
Loads
7
6
GND B+ A-
GND B
CN12 Port
4
RS485 Port CN12
EM111
8
5
T
PowerMeter
A
Wallbox
