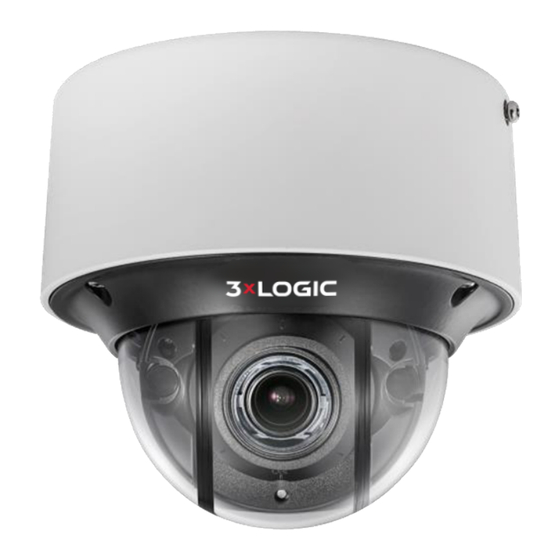
3xLogic VX-2V-MD-RIWH Panduan Memulai Cepat - Halaman 15
Jelajahi secara online atau unduh pdf Panduan Memulai Cepat untuk Kamera Keamanan 3xLogic VX-2V-MD-RIWH. 3xLogic VX-2V-MD-RIWH 20 halaman. Visix v-series all-in-one camera gen ii

2 Camera Setup
Available Camera Setup Tools
All V-Series camera models can be quickly setup for recording and remote monitoring out-of-the-box using one
of two tools; either the 3xLOGIC VSX Setup Tool (iOS and Android) mobile app or 3xLOGIC All-in-One PC Setup
software, depending on your network environment.
The 3xLOGIC VSX Setup Tool (iOS and Android) can be installed on a mobile device running Android
n
or iOS and has been engineered for use in all DHCP-enabled networks. This app scans the camera's QR
code to establish a connection with the camera and pushes configured settings to the camera via the
cloud.
n
The 3xLOGIC All-in-One PC Setup software must be installed on a Windows PC running on the same
network as the cameras and is intended for use in large-scale deployments or for non-DHCP
networks. The app detects cameras at which point an appropriate IP address can be assigned to the
camera to establish external internet connectivity. The app then pushes configured settings to the
selected camera via the cloud.
Camera Setup - DHCP -Enabled Networks
For DHCP-enabled networks where the camera is hardwired or wirelessly connected to the local network,
manual configuration is possible, however the 3xLOGIC VSX Setup Tool (iOS and Android) is highly
recommended:
1.
Ensure the connected network provides a DHCP address and allows outbound access to the internet.
For installations where DHCP is not available or where the camera is being used with an appliance see
Section 2.3 Camera Setup - Non-DHCP Networks.
2.
Download VSX Setup app from your devices' app store.
3.
Follow prompts in the VSX Setup app, and scan the camera's QR to complete configuration and
enrollment.
4.
You will be required to activate the camera by assigning a complex password.
5.
Be sure to remember the VIGIL Connect Alias as well as the username and password you assign to the
camera. These credentials will be required to add the camera to other VIGIL utilities.
6.
Ensure that the camera is configured with the proper time zone, auto daylight savings update and set
for NTP (auto time sync).
7.
The cameras live view will be displayed in the app for final positioning.
8.
Setup results can be emailed upon completion for easy monitoring configuration.
Note: The V-Series camera will automatically check for updates and format the SD card. Please allow
15 minutes before power cycling the camera.
Camera Setup - Non-DHCP Networks
The 3xLOGIC All-in-One PC Setup software was engineered specifically for use in non-DHCP networks where
the mobile app (requires DHCP) cannot be used to configure the camera. A laptop connected to the same
network as the camera will be required to discover the camera and assign a valid IP address using the 3xLOGIC
All-in-One PC Setup.
1.
Download and install the 3xLOGIC All-in-One PC Setup Utility for Windows from:
http://www.3xlogic.com/support-center/software
12000 Pecos St., Suite 290, Westminster, CO 80234 | www.3xlogic.com | (877) 3XLOGIC
V-Series Camera Quick Start Guide | VX-2V-MD-RIWH
15
