DAPAudio D2141 Manual - Halaman 12
Jelajahi secara online atau unduh pdf Manual untuk Mixer Musik DAPAudio D2141. DAPAudio D2141 18 halaman.

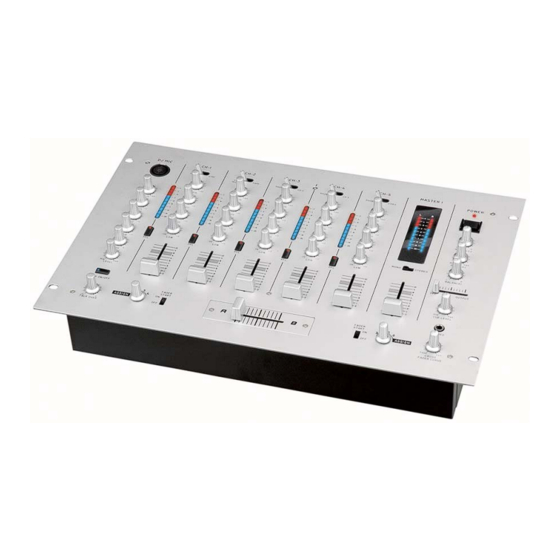
21. Power LED
22. Main Power Switch
This is the main power ON/OFF button. The power switch will glow red when
power is ON. Before main power is applied, be sure you have connected every
device to the mixer. Also be sure your amplifier(s) is (are) tuned off.
Remember to avoid damaging pops, the mixer should be powered first and
turned off last.
23. Master 2 Volume Balance Control
This knob is used to control the pan, adjust how much of the signal is sent to
the left and right output level. For true stereo imaging, the knob must remain in
the 12 o'clock position.
24. Master 2 Volume Control
This knob is used to control the master 2 level volume. The master 2 level is
not PFL. It is essentially a second master output volume with a separate
output volume control.
25. Master 1 Volume Balance Control
This knob is used to control the pan, adjust how much of the signal is sent to
the left and right output level. For true stereo imaging, the knob must remain in
the 12 o'clock position.
26. Cue Mixing Controller
This knob selects the channel for monitoring. The monitor signal comes from
the Prefader. This means: it will not be affected by the channel faders. You
can monitor each channel individually. Connect your headphones to the
PHONES Jack (28). Turn the CUE MIXING CONTROL to PFL and select the
desired channels with the PFL switches. When you turn the CUE MIXING
CONTROL to OUTPUT (PFL switches without function), you can cue the
output signal of the mixer. If the CUE MIXING CONTROL is set to the center
position, you can cue both the channel signal and the output signal you have
selected. With the CUE LEVEL control, you can adjust the Phones volume
without changing the output signal.
27. Cue Level Volume Control
This knob is used to adjust the Phones volume output level. Turn the knob
clockwise to increase the headphone volume.
28. Phones
You can connect a pair of headphones with an impedance of 16 - 600 Ohm to
this Stereo Phones jack, allowing you to monitor the cue source.
Balanced
1/4" TRS socket, wired as Tip=left, Ring=right and sleeve = ground.
Most DJ head phones are rated at 16 ohm, these are highly recommended.
Always be sure the CUE LEVEL VOLUME is set to minimum before you put
the headphones on.
Caution: Depending on the type of headphones connected to the phones
jack, the Xenon is capable of producing very high output levels via the phones
output. Therefore, make sure to turn the control all the way to the left
(minimum setting) before connecting the headphones.
Be aware of the fact that listening to loud sound pressure levels over a longer
period of time leads to hearing-damage!
10
