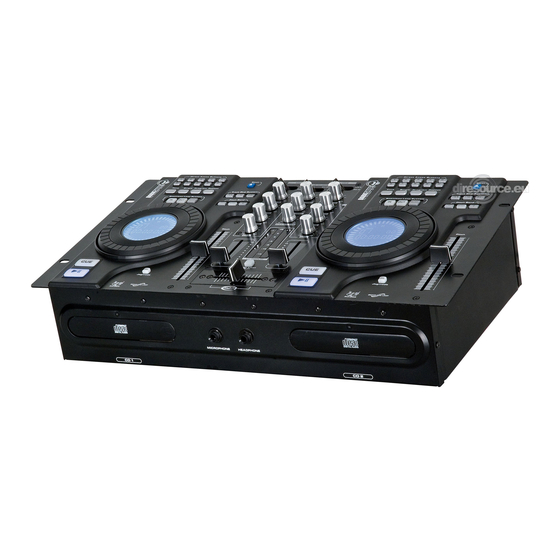
DAPAudio DS-CDJ-250 MKII Panduan Produk - Halaman 11
Jelajahi secara online atau unduh pdf Panduan Produk untuk Peralatan DJ DAPAudio DS-CDJ-250 MKII. DAPAudio DS-CDJ-250 MKII 20 halaman. Audio mixer
Juga untuk DAPAudio DS-CDJ-250 MKII: Panduan Pengguna (19 halaman)

Installation
Remove all packing materials from the CD Player. Check that all foam and plastic padding is removed..
Connect all cables.
Always disconnect from electric mains power supply before cleaning or servicing.
Damages caused by non-observance are not subject to warranty.
Set Up and Operation
Before plugging the unit in, always make sure that the power supply matches the product specification
voltage. The power supply is printed on the back of the device.
Do not attempt to operate a 120V specification product on 230V power, or vice versa.
Connections
1. Turn off the Power switch.
2. Connect the DS-CDJ-250 to your amplifier using the proper cables.
CAUTION: Be sure that the power is off, when connecting the cables.
Functions
NAMES AND FUNCTIONS
Below is a description of the functions of the controls.
CD-player Functions
1. Direct Acces Buttons:
The direct acces buttons allow you to input a track number directly instead of having to skip through
the tracks individualy. Just press the number or combination of numbers op to 99 and the player will
jump to that track instantly.
2. Single:
Press this button to switch between the SINGLE and CONTINUOUS play mode. The selected mode is
indicated on the LCD. In SINGLE mode, the unit stops playing after each track. In CONTINUOUS mode,
the unit plays all tracks and then stops.
3. Time:
Press this button to switch the Time-Display between the elapsed time and remaining time. The
selected mode is indicated by the ELAPSED, REMAIN and TOTAL REMAIN indicator on the LCD.
4. Loop IN:
Press this button to set the startpoint of the loop.
5. Loop OUT:
Press this button to set the endpoint of the loop.
6. RELOOP:
This button is used to start the last saved loop. To finish the loop, press the Reloop button again.
7. Shuttle Wheel:
In search mode the shuttle wheel can be used to search forward or backwards in the music track, as
well as fine tuning the cue point in pause mode. In pitch bend mode the shuttle wheel will function
the same as the pitch bend allowing you speed up (forward) or slow down (rewind).
8. LCD Display
9. Cue:
Press the Cue button during playback to return to the position at which playback is started.
10. PLAY/PAUSE-button
Use this button to start playback. Press once to start playback, twice to set the pause mode, and
twice to resume playback.
11. Program:
Press the Program Button, the player will enter the program mode and stop the CD playback.
12. Repeat:
Use this button to repeat one track or all tracks of the CD.
:
9
