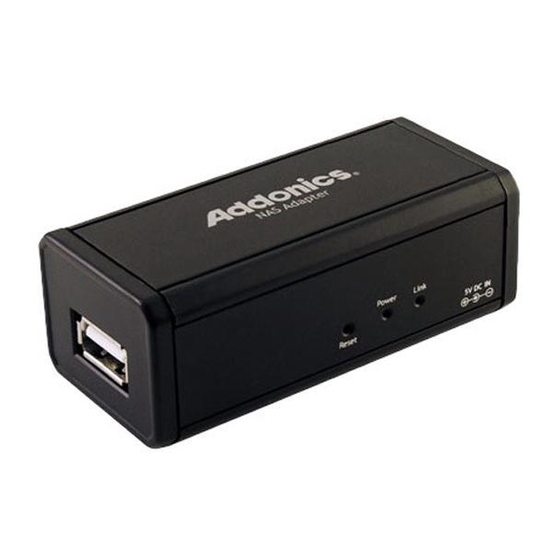
Addonics Technologies NASU2 Panduan Pengguna - Halaman 14
Jelajahi secara online atau unduh pdf Panduan Pengguna untuk Adaptor Addonics Technologies NASU2. Addonics Technologies NASU2 15 halaman. Nas adapter
Juga untuk Addonics Technologies NASU2: Panduan Pengguna (8 halaman), Panduan Pemasangan Cepat (4 halaman)

How to Map your NAS Adapter to your system.
Showing NAS Disk Drive in network
1.
Press "Start" button on Windows desktop
2.
Press "Search"
3.
Select Folders
4.
Select Computer or people
5.
Select a computer on the network and a new window will appear.
6.
Key in the host name, (For example "storage-xxxx") in the "Computer
name" column and then press "Search" button. You will see the
following window.
7.
Point to the "Storage-xxxx", double click the mouse. Choose the folder
you wish to map, click mouse on its right button and click "Map Network
Drive".
Map Network Window appears
Note: For faster connection and usability, we recommend that you map a drive.
This creates a direct access to the shared drive from My Computer (for more
information about drive mapping, refer to your Windows manual).
Access SMB folder of NAS Adapter in Ubuntu 8.04
First, using the console get the prerequisites for the samba file system:
$ sudo aptitude install samba smbfs
$ mkdir /mnt/NAS
$ sudo mount.cifs //NAS_adapter_IP_address/Public /mnt/NAS -o
username=Guest
Search NAS Adapter by SDisk Utility in Ubuntu 8.04
You are going to be installing the JRE and the web browser plug-in. Use the
following command from a terminal
$ sudo apt-get install sun-java6-jre sun-java6-plugin sun-java6-fonts
Check that the JRE is properly installed by running the following command from
a terminal.
$ java -version
You should get similar output
java version "1.6.0•
Java(TM) SE Runtime Environment (build 1.6.0-b105)
Java HotSpot(TM) Client VM (build 1.6.0-b105, mixed mode, sharing)
Navigate to the folder where the jar file is located
$ java –jar Sdisk.jar
