4B WDA3V34C Panduan Pengoperasian - Halaman 8
Jelajahi secara online atau unduh pdf Panduan Pengoperasian untuk Aksesori 4B WDA3V34C. 4B WDA3V34C 20 halaman. Wda sensor belt alignment / motion & broken / slack chain monitor

• Rotating machinery can cause serious injury or death
• Always lockout and tagout the machine prior to installation
Sensors are placed in pairs at the head and boot on the up side of the elevator leg (figure 1). Refer to
the BUCKET ELEVATOR PLACEMENT DIAGRAMS section regarding proper sensor positioning for your
application. Sensor installation will vary depending on the type of elevator bucket (metal or plastic).
Once the proper placement has been identified, cut a 2-1/4 inch (57 mm) diameter hole in the elevator
leg housing for each sensor.
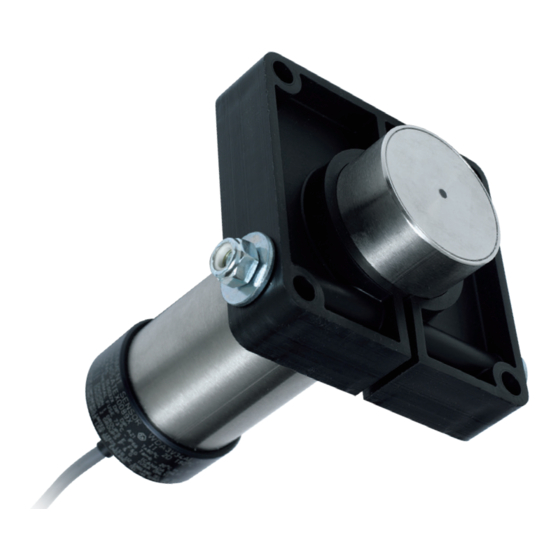
The WDA sensor can be mounted using one of the following three methods -
1. Drill and tap the machine casing for 5/16 inch threaded bolts. Make sure that the bolts used to
secure the sensor mounting bracket are short enough that they do not interfere with the operation of
the machine.
2. Use threaded rivet nuts for 5/16 inch threads. The length of the rivet nut will depend on the thickness
of t he machine's casing. Make sure that the bolts used to secure the sensor mounting bracket are
short enough t hat they do not interfere with the operation of the machine.
3. CD weld 5/16 inch threaded welding studs to the machine casing.
To drill the four 5/16 inch bolt holes for the sensor mounting bracket, use the supplied paper template from
the sensor manual or use the bracket itself, by centering on the existing 2-1/4 inch (57 mm) hole.
For side mounting of steel buckets (Option 1), make sure that the belt is centered on the pulley and
install a sensor on each side of the trunking, with the sensor centered on the edge of the elevators
bucket at a distance of no more than 2 inches (50 mm) from the buckets (figure 3), or with the outer
edge of the sensor in line with the tips of buckets with very close vertical spacing at a distance of no
more than 1-1/2 inches (38 mm) from the buckets (figure 5). Set the sensor so that it does not have
to work at maximum sensitivity. Always ensure that in the worst case of elevator misalignment, the
sensors will not be damaged within the elevator.
For rear mounting of plastic buckets with steel bolt heads (Option 2), make sure that the belt is centered
on the pulley and install a sensor on either side of the rear of the trunking. The sensor should be
centered on the outside edge of the outermost bucket bolts and protrude slightly through the trunking
around 1-1/2 inch (25.4 mm) from the bolt head (figure 6).
The sensor depth within the elevator leg can be adjusted by loosening the adjustment bolt on the
mounting bracket, sliding the sensor to the required depth and retightening the bolt.
If using stainless steel elevator buckets and bolts (non-ferrous), use PTFE coated steel fender
washers (ferrous) between the belt and bucket. Mount WDA sensor on the back side of the leg to
target the ferrous bolts / washers (See Figure 6 - Plastic Bucket Installation).
INSTALLATION - BUCKET ELEVATOR
WARNING
NOTE
PAGE 8
