AddSecure Edge VS5010 Panduan Pengguna - Halaman 6
Jelajahi secara online atau unduh pdf Panduan Pengguna untuk Sistem interkom AddSecure Edge VS5010. AddSecure Edge VS5010 10 halaman. Connect intercom
Juga untuk AddSecure Edge VS5010: Panduan Pengguna (14 halaman)

8
Configuring the terminal
9
Commissioning
page 6
Step Action
1
Scan one of these QR-codes depending on your mobile device's
operating system:
App Store QR code
2
Download and install the AddSecure Service Activator.
3
Sign in or register an account. You will receive an email with an
auto-generated password.
4
Log in, and select "AddSecure Connect".
5
Scan the QR-code that is on the label on the terminal enclosure.
6
Click "Activate".
7
When "Configuring" is displayed, connect power to the terminal.
8
Finish this procedure by waiting approx. 3 minutes for the process
to finish.
When complete, "Service activated" will be displayed.
The terminal does not need to be configured. All the configuration is done
by AddSecure directly to the unit.
VS5051 terminals do not require manual programming. All required
information for configuration will have been provided when the AddSecure
Subscription Application 5t was completed.
Purpose
Panel (PNL)
Power (PWR)
Cellular Path (CEL)
Ethernet Path (ETH)
System (SYS)
The terminal is delivered with relevant area code digits appended, e.g.
"0046" for deliveries to Sweden. If you need to change these appended
digits, contact AddSecure.
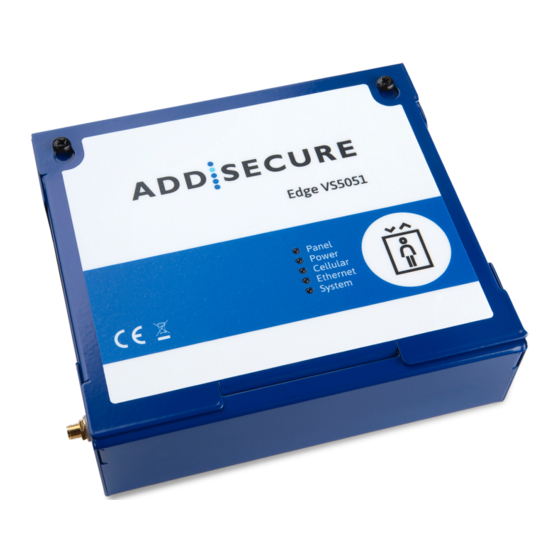
For the VS5051 terminal: You can check the status of the LEDs on the lid of
the terminal enclosure to ensure settings have been correctly downloaded.
If LEDs do not have these states after successfully using the Activator
Service app, please contact your local AddSecure Support team for
Google Play QR code
Single Path "Status OK"
ON = OK
ON = OK
Short blip = charging
Flicker = battery problem
ON = OK
Short blips = sending data
Not Enabled
ON = OK
PDK-15088-v.2.0 Connect Intercom User Manual.docx
