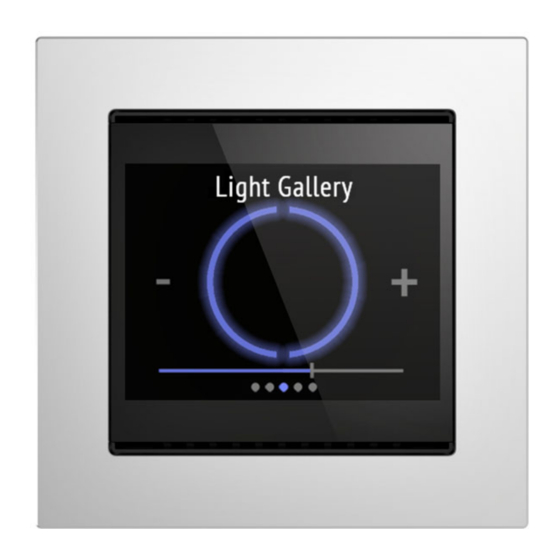
elsner elektronik 70810 Panduan Memulai Cepat - Halaman 2
Jelajahi secara online atau unduh pdf Panduan Memulai Cepat untuk Pengontrol elsner elektronik 70810. elsner elektronik 70810 2 halaman. Room controller with touch-display

1.1.1. Measuring accuracy
Measurement deviations due to sources of interference (see chapter Installation lo-
cation) must be corrected in the ETS in order to ensure the specified accuracy of the
sensor (offset).
For a correct CO
measurement it is necessary to install the device in a windproof
2
socket. After applying the operating voltage, it can take up to 15 minutes until the
CO
measured value is output correctly.
2
During temperature measurement, the self-heating of the device is taken into
consideration by the electronics. It is compensated for by the software, therefore the
displayed/output inside temperature measuring value is correct.
2.
Installation and commissioning
2.1. Installation notes
Installation, testing, operational start-up and troubleshooting should
only be performed by an electrician.
CAUTION!
Live voltage!
There are unprotected live components inside the device.
•
National legal regulations are to be followed.
•
Ensure that all lines to be assembled are free of voltage and take
precautions against accidental switching on.
•
Do not use the device if it is damaged.
•
Take the device or system out of service and secure it against
unintentional use, if it can be assumed, that risk-free operation is
no longer guaranteed.
The device is only to be used for its intended purpose. Any improper modification
or failure to follow the operating instructions voids any and all warranty and gua-
rantee claims.
After unpacking the device, check it immediately for possible mechanical damage.
If it has been damaged in transport, inform the supplier immediately.
The device may only be used as a fixed-site installation; that means only when as-
sembled and after conclusion of all installation and operational start-up tasks and
only in the surroundings designated for it.
Elsner Elektronik is not liable for any changes in norms and standards which may
occur after publication of these operating instructions.
2.2. Installation location
The sensor is installed in a flush-mounted box (Ø 60 mm, 42 mm deep).
The sensor may only be installed and used in dry interior
spaces. Avoid condensation.
When selecting an installation location, please ensure that the measurement results
are affected as little as possible by external influences. Possible sources of interfe-
rence include:
•
Direct sunlight
•
Draughts from windows and doors
•
Draughts from ducts which lead to the junction box in which the sensor is
mounted from other rooms.
•
Warming or cooling of the building structure on which the sensor is mounted,
e.g. due to sunlight, heating or cold water pipes
•
Connection lines, which lead from warmer or colder areas to the sensor
Temperature variations from such sources of interference must be corrected in the
ETS in order to ensure the specified accuracy of the sensor (temperature offset).
2.3. Device design
View with frame and base plate.
Fig. 1a
1 Frame (not included in the deli-
verables)
2
Base plate
3 Openings for air circulation
4
KNX terminal BUS +/-
Room Controller Cala Touch KNX • Version: 28.04.2020 • Technical changes and errors excepted. • Elsner Elektronik GmbH • Sohlengrund 16 • 75395 Ostelsheim • Germany • www.elsner-elektronik.de • Technical Service: +49 (0) 7033 / 30945-250
Room Controller Cala Touch KNX
Fig. 1b
1
2
3
4
5
6
7
8
5 Catches
6 Slot supply line inputs
7 Programming button (reces-
sed) for teaching the device
8 Programming LED (recessed)
Fig. 2
Analogue/digital supply line inputs:
Input 1: white / black (GND)
Input 2: yellow / black (GND)
Input 3: purple / black (GND)
Input 4: blue / black (GND)
2.4. Sensor assembly
First, place the wind-proof box with the supply connection. Seal the inlet tubes as
well, in order to prevent drafts.
Then screw the base plate onto the socket and position the frame of the switch range
on top of this. Connect the bus lines +/- to the black-red KNX plug and plug the KNX
plug into the intended slot (no. 8). If required, connect the analogue/digital inputs
via the breakout cable that is included in the delivery.
Insert the housing firmly onto the metal frame using the catches so that sensor and
frame are fixed together.
2.5. Notes on mounting and commissioning
Never expose the device to water (e.g. rain) or dust. This can damage the electro-
nics. You must not exceed a relative humidity of 95%. Avoid condensation.
After the bus voltage has been applied, the device will enter an initialisation phase
lasting a few seconds. During this phase no information can be received or sent via
the bus.
3.
Addressing the equipment
The equipment is delivered with the bus address 15.15.255. You can program a dif-
ferent address in the ETS by overwriting the address 15.15.255 or by teaching the
device via the programming button.
The programming button can be reached through the opening on the rear of the
housing; it is recessed. Use a thin object to reach the button, e.g. a 1.5 mm² wire.
4.
Maintenance and care
Fingerprints on the display and the housing are best removed with a cloth moiste-
ned with water or a microfibre cloth. Do not use an abrasive cleaning agent or ag-
gressive cleansing agents.
2
