CB2 SIDECAR Petunjuk Perakitan - Halaman 4
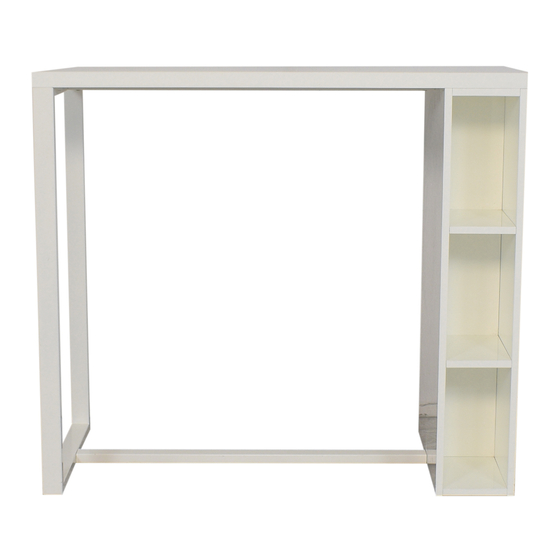
Jelajahi secara online atau unduh pdf Petunjuk Perakitan untuk Perabotan Dalam Ruangan CB2 SIDECAR. CB2 SIDECAR 5 halaman. High dining table

sidecar
Make sure the glossy side
of the top back panel (#3) is
facing down toward the bottom
back panel (#5) as shown, and
that the high gloss edge of
all panels are facing up.
5
A
bottom panel
(back)
A. Fit dowels of bottom back panel (#5) and top
back panel (#3) into corresponding holes of
assembled unit.
B. Fit dowels of 2 fixed back shelves (#7) into
corresponding holes of assembled unit as shown.
Make sure the glossy edge of both panels are
facing up. Using a screwdriver, turn each cam
clockwise until it securely engages each cam
9
screw.
right side
panel
Fit cam screws of right side panel into
corresponding holes of assembled unit as shown.
11
Secure all cams.
Made in Thailand - r05
HIGH DINING TABLE
top panel
(back)
3
7
B
7
fixed shelf
(back)
fixed shelf
(back)
Customer Service 800.606.6252 | Latest instructions available at www.cb2.com
top of unit
left side
panel
With the assistance of another adult, carefully
place left side panel onto a clean, padded surface
as shown. Fit dowels of assembled unit into
corresponding holes of right side panel as shown.
10
Secure all cams.
back
panel
A. With the assistance of another adult, carefully
position the assembled unit as shown. Fit cam
screws of back panel into corresponding holes of
assembled unit as shown. Secure all cams.
B. Cover all exposed cams with cam covers as
12
shown.
NOTE: Make sure taller panels are
attached to the left side panel
using cam screws and dowels
positioned closer to the long edge
of the panel as shown.
B
A
VIEW FROM BELOW
Page 4 of 5
