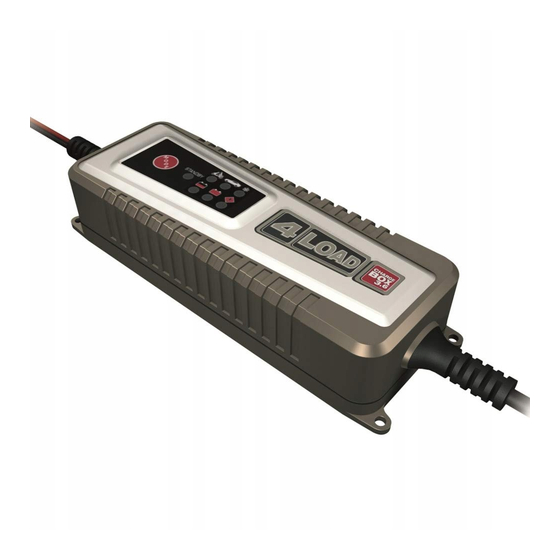
4load CHARGE BOX 3.6 Panduan Pengguna - Halaman 6
Jelajahi secara online atau unduh pdf Panduan Pengguna untuk Pengisi Daya Baterai 4load CHARGE BOX 3.6. 4load CHARGE BOX 3.6 9 halaman. Battery-charger 3,6 amp
Juga untuk 4load CHARGE BOX 3.6: Panduan Pengguna (9 halaman)

Safety / Operation
J
After completing the charging and floating charge
operation on a battery permanently installed in
the vehicle, first disconnect the cable of the
negative (minus) pole (black) of the charger
from the negative (minus) pole of the battery.
J
In case of malfunction or damage, immediately
disconnect the charging station from the mains!
J
Have the charging station repaired by authorised
and trained specialists only! Please contact the
service department for your country!
J
Before connecting the charging station, read
the information on battery maintenance in the
operating instructions of the battery!
J
Before connecting the charging station to a bat-
tery permanently installed in a vehicle, read the
information on electrical safety and maintenance
in the operating instuctions of the vehicle!
J
Disconnect the charger from the mains current
and the battery when not in use!
Properties
This device is designed for the charging of a variety
of SLA batteries (sealed lead-acid batteries), which
are used in cars, motorbikes and some other vehicles,
such as WET (with liquid electrolyte), GEL (with gel
electrolyte) or AGM batteries (with electrolyte-ab-
sorbing mats). Their capacity ranges from 12 V / 1.2 Ah
to 12 V / 120 Ah.
A special design feature of the device permits the
battery to be re-charged to nearly 100% of its capacity.
Furthermore, a long-term connection of the battery
to the charging station can take place to keep the
battery in optimal condition when not in use, without
it being damaged in the process.
Operation
Connection
j
Clamp the "+"-pole (red) w of the charger to
the "+"-pole of the battery.
j
Clamp the "–"-pole (black) e of the charger
to the "–"-pole of the battery.
j
Connect the power cable P to the mains current.
14 GB
Disconnecting
j
Disconnect the device from the mains current.
j
Remove the "–"-pole (black) e of the charger
from the "–"-pole of the battery.
j
Remove the "+"-pole (red) w of the charger
from the "+"-pole of the battery.
Selecting the charging mode
j
Press the selection button "MODE" I until you
get the desired charging mode / standby.
Bike
(14.4 V / 0.8 A)
Most suitable for batteries with a capacity of less
than 14 Ah.
Car
(14.4 V / 3.6 A)
Most suitable for batteries with a capacity greater
than 14 Ah - 120 Ah. Charging mode for open bat-
teries, MF and for most GEL batteries.
High
(14.7 V / 3.6 A)
Most suitable for batteries with a capacity greater
than 14 Ah - 120 Ah in cold conditions. This charging
mode is also designed for many AGM batteries. For a
long-term charge (trickle charging) with temperatures
of possibly over + 5 °C the car mode (14.4 V / 3.6 A)
is recommended.
Note! If the charging process goes smoothly, the
LED display
U will glow until the battery has
been fully charged.
As soon as that has been done, the charger switches
over to maintenance mode. The LED display
then goes off and the LED display
U
Y lights up.
